Knowing whether you need to install a ceiling vapor barrier is essential for anyone looking to build a new home or renovate an existing one. Moisture can wreak havoc on your home, leading to the growth and spread of mold, mildew, and other contaminants.
A properly installed vapor barrier helps protect against moisture buildup in your indoor air that can diminish air quality, cause mold growth and increase energy costs.
But, for the ceiling, is it needed? Should you install a vapor barrier there or not? And is there any special way of installing it? Let’s find out.
The Debate Of Ceiling Vapor Barrier
The debate of whether a ceiling vapor barrier is needed or not has been going on for some time now. It’s one of those questions that seem to have no definite answer – it is sort of correct but also quite wrong! So how will you know if you need one in your home?
It depends on the climate and whether you allow controlled mechanical ventilation.
In climates with moderate cold temperatures, a vented attic is usually enough to remove moisture from the air.
However, if the temperature drops below 8,000 heating degrees days, installing a vapor barrier in addition to the attic ventilation would be wise. That’s because, in such cold temperatures, there won’t be enough heat loss from your home to warm up the outside air enough to remove moisture effectively.
On the other hand, if you’re not living in an area with severely cold temperatures and have your attic insulation, you may only require a vapor retarder as your barrier.
The attics of hot, humid climates should not be vented or fitted with a vapor retarder. Similarly, installing a vapor retarder is not recommended in hot, dry climates. However, attics may still be vented.
It is worth noting that vapor retarders alone can sometimes be ineffective if gaps, holes, or another air leakage in the building assembly – moisture may still pass through these small openings. As such, it’s best to install a good air barrier and the vapor barrier or retarder for optimal protection.
The Science Behind Ceiling Insulation And Barriers
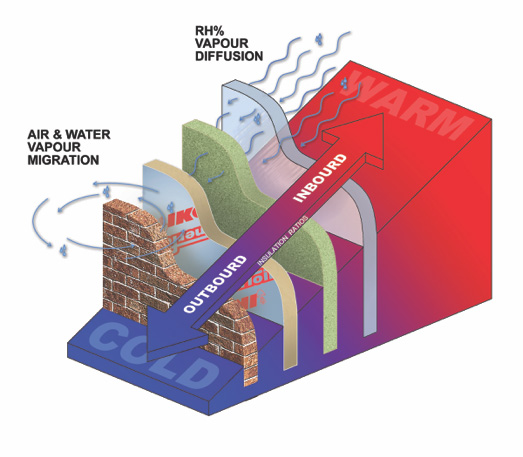
The moisture-laden air inside your home can cause damage if it meets a cold surface. There is more moisture in warm air compared to cold air. When warm air cools, condensation can build up and soak unprotected insulation and wood framing, resulting in mildew, mold, and rot.
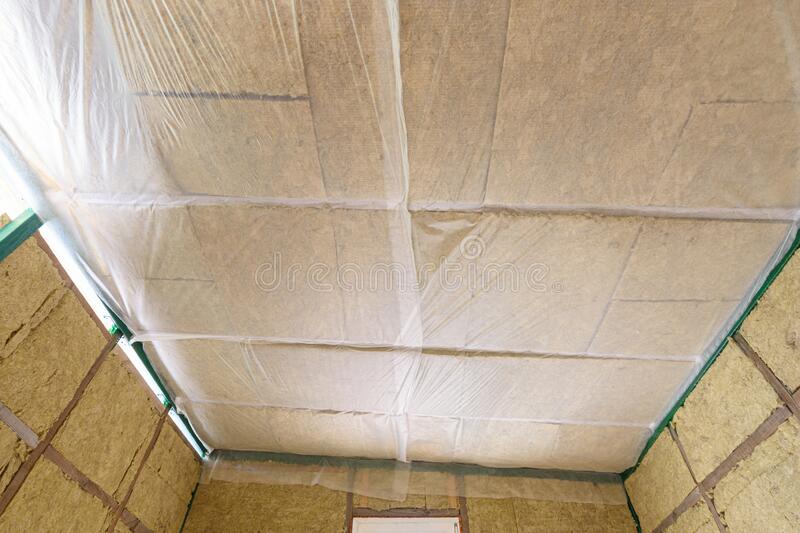
To protect yourself from this potential disaster, install a moisture barrier—commonly called a vapor barrier—over your ceiling and walls. The most often used vapor barrier is a 6-mil polyethylene sheeting for moisture barrier applications. Fiberglass insulation should be installed first before applying the vapor barrier. This setup will keep any unwanted moisture at bay.
What Type Of Vapor Barrier Should You Use For The Ceiling?
Certain types of plastic sheeting must be used to meet the standards required for a vapor barrier for the walls and ceilings of your home.
- The thickness of the plastic sheeting should be at least 6 mils.
- The material must meet the requirements of ASTM (American Society for Testing and Materials) standards and be classified as Class A, with a permeability rating of 0.1 or less.
- Ensuring the vapor barrier is puncture-resistant is also important to provide proper protection.
- Polyethylene is the most commonly used plastic sheeting material for this purpose.

Steps To Install Ceiling Vapor Barrier
The steps to install a ceiling moisture barrier are as follows:
1. Prepare Ceiling Joists
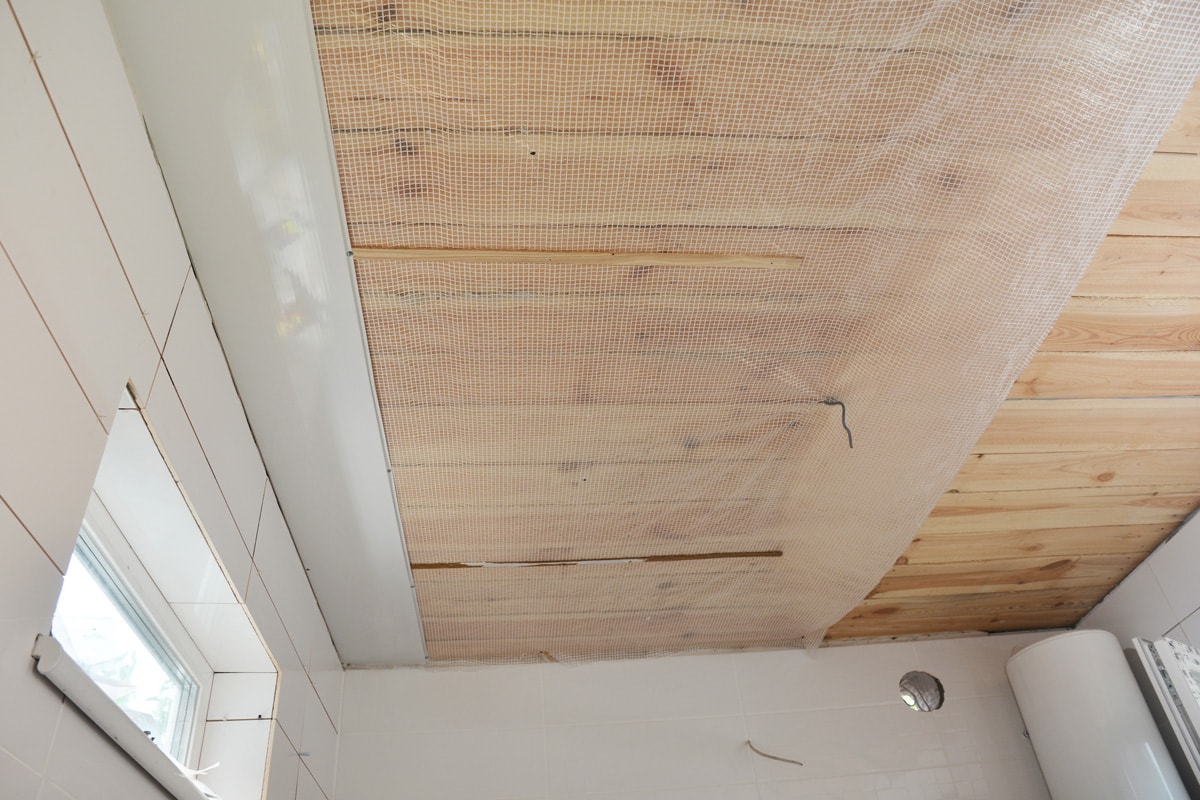
The first step is to prepare the ceiling joists. Before installing the moisture barrier, take a look over the ceiling joists and remove any nails, screws, staples, or large splinters which may be present on the joist face. These will cause holes in the vapor barrier if left, thus negating its protective capabilities. Also, check the joists for any other damage that may prevent a proper installation.
2. Measure the Ceiling
The next step is to measure the ceiling in terms of width and depth to identify the dimensions of the vapor barrier required. The measurements should be taken from side to side for a standard rectangular-shaped ceiling.
However, measure that section separately if your ceiling has an irregular shape, such as being L-shaped or having a small area past the main portion. Add about 12 inches to each measurement to allow for overlapping seams. Also, consider any obstacles requiring specific measurements, such as chimneys and ceiling fixtures.
3. Unroll the Vapor Barrier Sheet
Once you have taken the measurements, pull out a length or width of polyethylene sheeting appropriate for your ceiling size. Polyethylene sheeting is available in large rolls of varying widths and lengths, so select a length or width that matches your ceiling dimensions exactly. Also, add about 12 inches to each measurement for overlapping seams when cutting the sheeting.
4. Mark and Cut The Vapor Barrier Sheet
Once you have unrolled the necessary vapor barrier, mark it with a marker or other writing utensil to create a cut guide. Cutting the plastic slightly larger than the ceiling size is important, as this will reduce sagging when installed. Once you have marked the sheeting, cut it to size with a utility knife or scissors. It’s quite similar to cutting out a square for a patchwork quilt.
5. Install the Vapor Barrier in Corner
Once you have marked and cut your vapor barrier, it’s time to start installing it. Begin by placing the plastic sheeting against the ceiling in one corner of the room. Make sure that several inches extend past the ceiling onto the walls. Avoid pulling the plastic tight against the ceiling, as this can cause it to tear or puncture.
6. Staple The Vapor Barrier
Once you have placed the vapor barrier at the corner, staple it in place. Place staples approximately 4 inches apart along the joists. Wrinkles can be avoided by pulling the plastic tight against each joist before fastening it with a staple. Ensure the edges are well secured so that moisture does not seep through gaps.

7. Cut The Vapor Barrier Around Obstacles
When installing a vapor barrier in the ceiling, you may need to cut the barrier around obstacles such as chimneys and ceiling fixtures. To do this, measure the obstacle and cut a hole in the plastic sheeting that is slightly larger than the obstacle. After cutting, fold excess material around the object’s perimeter and secure it with staples to prevent moisture from seeping through any gaps.
8. Overlap The Seams
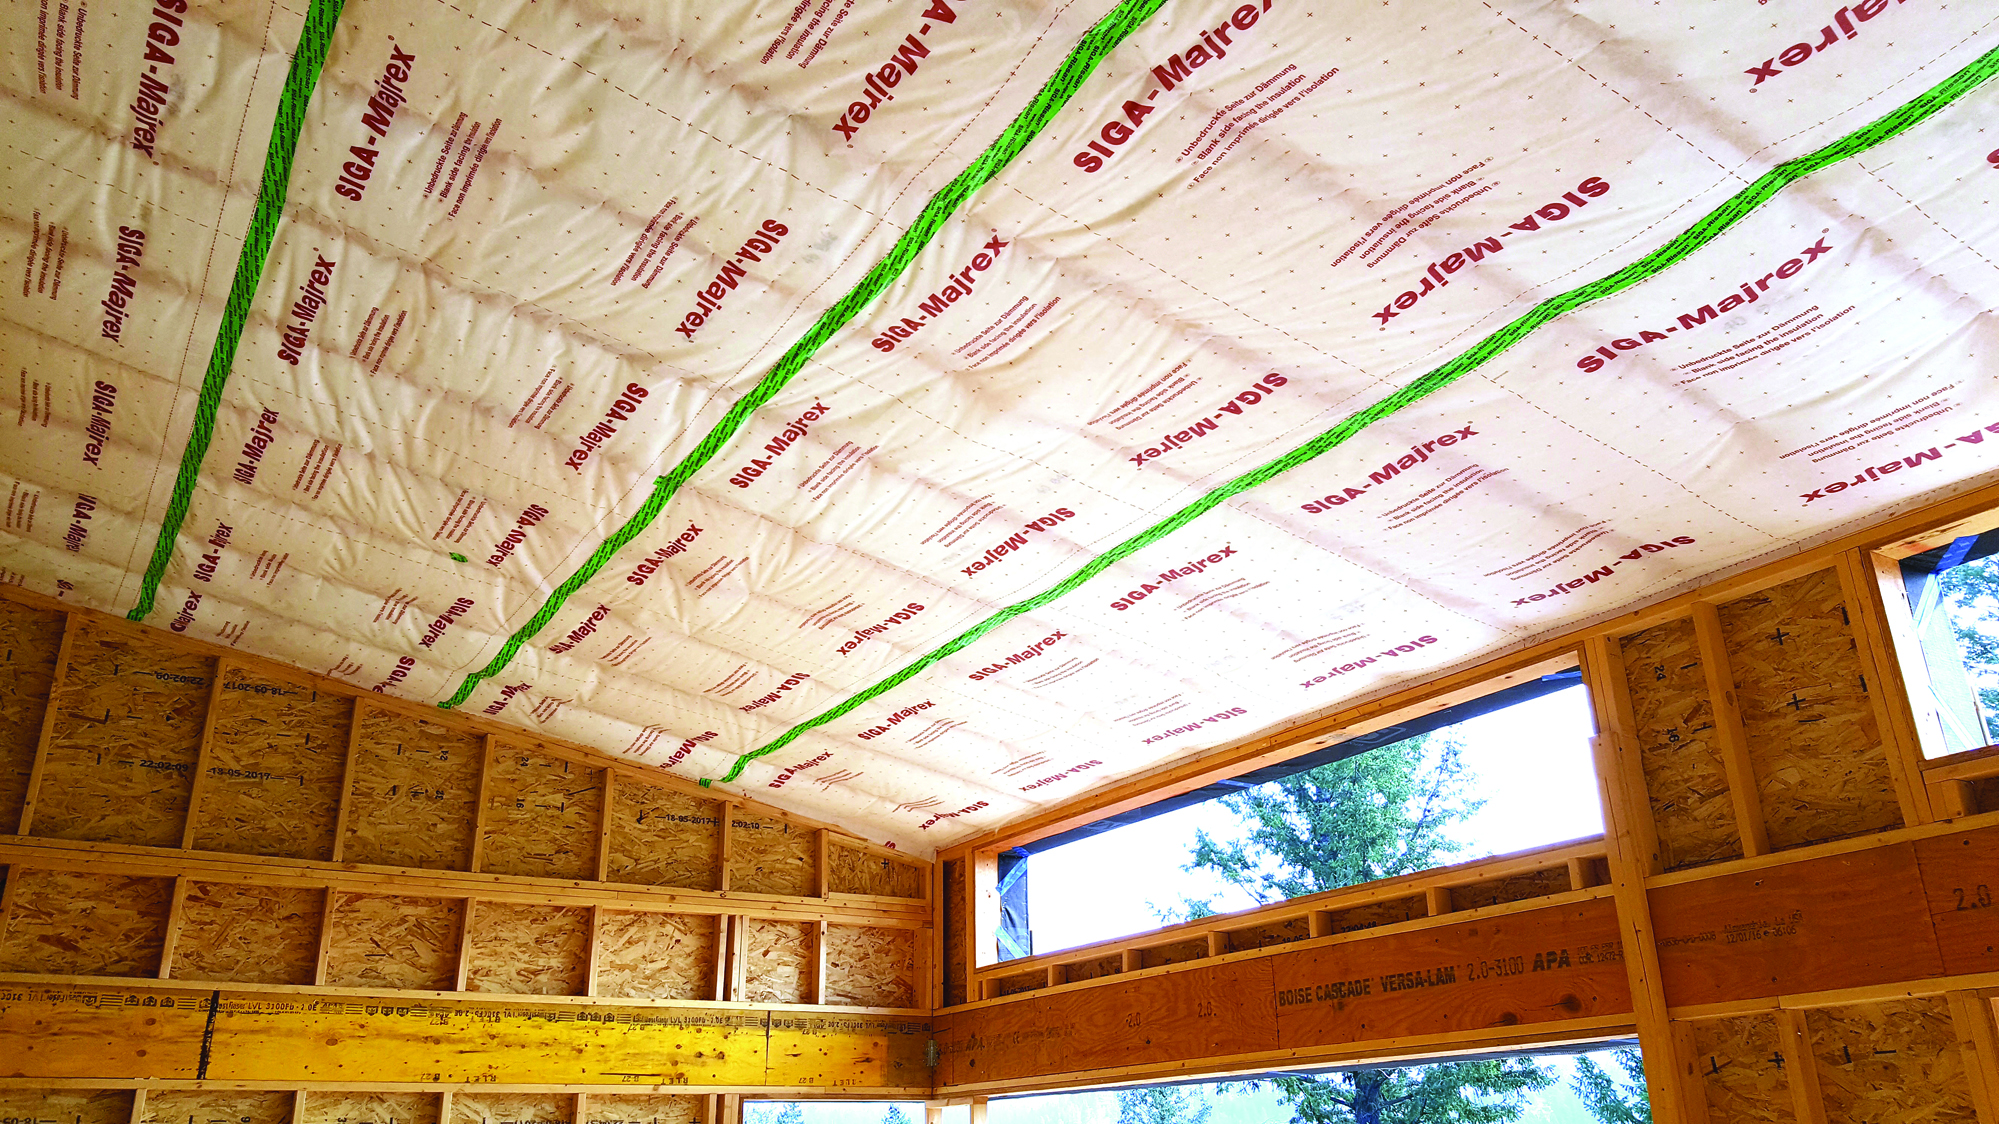
For the best protection, vapor barriers should have overlapping seams. When installing a vapor barrier in the ceiling, overlap each sheet at least 12 inches to prevent moisture from seeping through any gaps between them. Use a bead of caulk around the overlapping edges for extra protection.
9. Caulk The Edges
Use a bead of caulk around the edges of each sheet and at any overlapping seams to create an effective seal against moisture. This will prevent any water vapors from seeping through the gaps and into your home, thus protecting it from damage caused by water accumulation. Allow the caulk to dry completely before moving on to the next step.
10. Cover The Vapor Barrier
Once you have installed and sealed the vapor barrier, it’s time to cover it for aesthetics. You can use drywall or paneling to cover the plastic sheeting; both will hide it from sight and allow the vapor barrier to work its magic. Ensure no gaps are left between the covering and the barrier, as these can let in moisture.
By following these steps, you can ensure that your ceiling vapor barrier is installed correctly and effectively protect against moisture damage from below. Remember that proper maintenance is also important to prevent future issues. Any tears or holes in the plastic sheeting should be immediately repaired to prevent moisture from entering your home.

FAQs
1. Where Should I Place Vapor Barrier?
It is best to install a vapor barrier between the insulation and the wallboard for cold climates. In areas with high humidity, such as greenhouses or bathrooms, a builder should place the barrier against the exterior wall. For walls and slabs below grade, it is recommended that the vapor barrier be applied directly against the permeable surface. The vapor barrier should be installed directly above the exposed ground for crawl spaces.
2. What Is The Reason For Installing A Vapor Barrier?
Installing a vapor barrier reduces the intrusion of moisture, which can lead to mold growth and cause structural damage to your building envelope. By providing an additional layer of protection against moisture, a vapor barrier can help maintain the integrity of your building system.
3. Is A Vapor Barrier Necessary?
Whether or not a vapor barrier is needed depends on the climate in which your building resides. In cold climates, installing a vapor barrier is recommended to prevent moisture from entering the building envelope. However, it may be unnecessary in hot climates as the heat will cause moisture to evaporate before it can penetrate the wall. Consult a building expert or engineer to determine if a vapor barrier is necessary.
4. What Are The Different Types Of Vapor Barriers?
Vapor barriers come in various forms, including plastic sheets, asphalt-saturated felt, and sprayed-on coatings. Depending on the application, one type of barrier may be more effective than another. Again, it’s best to consult a building expert or engineer to determine which type of vapor barrier is right for your project.
5. How Do I Ensure The Proper Installation Of A Vapor Barrier?
When installing a vapor barrier, it’s important to seal all penetrations, seams, and edges properly. Any gaps or tears should be sealed with a suitable caulk or adhesive. The most effective way to ensure proper installation is to consult an expert or engineer and follow the manufacturer’s instructions.


