Maintaining clean air ducts is essential for having a healthy, safe home. Regularly cleaning your home’s air ducts can improve the quality of the air circulating in your living space, reduce dust and other allergens, and increase energy efficiency. But how do you go about properly cleaning air ducts? And is it needed? What tools will you need? This guide will answer all these questions, ensuring your air ducts are clean and functioning properly.
Deciding Whether Or Not To Have Your Air Ducts Cleaned
The decision to clean your air ducts is personal and should be made after considering the pros and cons of each option. Additionally, regular maintenance can help ensure your home’s air quality remains healthy and free from allergens or contaminants. In addition, it can also prevent the buildup of dust and debris in the ducts that could interfere with airflow. On the other hand, having your ducts cleaned could be a costly investment and may not be necessary unless there is evidence of a problem.
When evaluating whether or not to clean your air ducts, it is important to consider the following:
- Age And Condition Of Your HVAC System. If you have an older system, there is a greater chance that dust and debris buildup could be causing problems.
- Cost Associated With Air Duct Cleaning. Depending on the job’s complexity, you could look at significant expenses.
- Level Of Airborne Particles In Your Home. If you or anyone in your household suffers from allergies or asthma, having clean air ducts may help reduce symptoms.
- Extension Of The Cleaning Process. Depending on the size of your air ducts and the buildup, it could take several hours to clean them properly.
Tools Needed For Air Duct Cleaning
When cleaning air ducts, certain tools can make the process easier and more effective. Depending on your specific needs, a few of these tools could include:
- Vacuum: A high-powered vacuum is essential for effectively cleaning air ducts. Vacuums with HEPA filters are ideal, as they can help to remove dust and debris more efficiently.
- Rotary Brush: A rotary brush may be necessary if your vents have built-up dirt and dust that needs to be removed. The brush should be used cautiously, as it can damage air ducts if used too aggressively.
- Air Compressor: An air compressor can help blow out contaminants inside your vents. This is especially helpful for those hard-to-reach areas that are difficult to clean with other tools.
- Chemicals And Detergents: Chemicals and detergents may be necessary for certain air ducts that are particularly dirty. Using the right combination of chemicals and detergent can help to loosen dirt, grime, and build-up from your air ducts.
- Cleaning Rods: Cleaning rods can help reach areas of your vents that are difficult to access. This can help ensure that all dirt and debris are removed from even the tightest corners of your air ducts.
- Screw Driver: Screw drivers can be used to access areas that may require additional cleaning. This is especially important for air ducts with several bends and turns.
- Painter’s Tape: Painter’s tape can be used to seal off air ducts while they are being cleaned. This helps minimize the spread of dust, debris, and other contaminants.
Using the right combination of tools when cleaning your air ducts can make all the difference in ensuring that your vents are thoroughly clean and safe for use.

DIY Air Duct Cleaning Steps
After gathering the right tools and materials, you can start cleaning the air ducts independently. Here’s what to do:
1. Loosen Up Dust
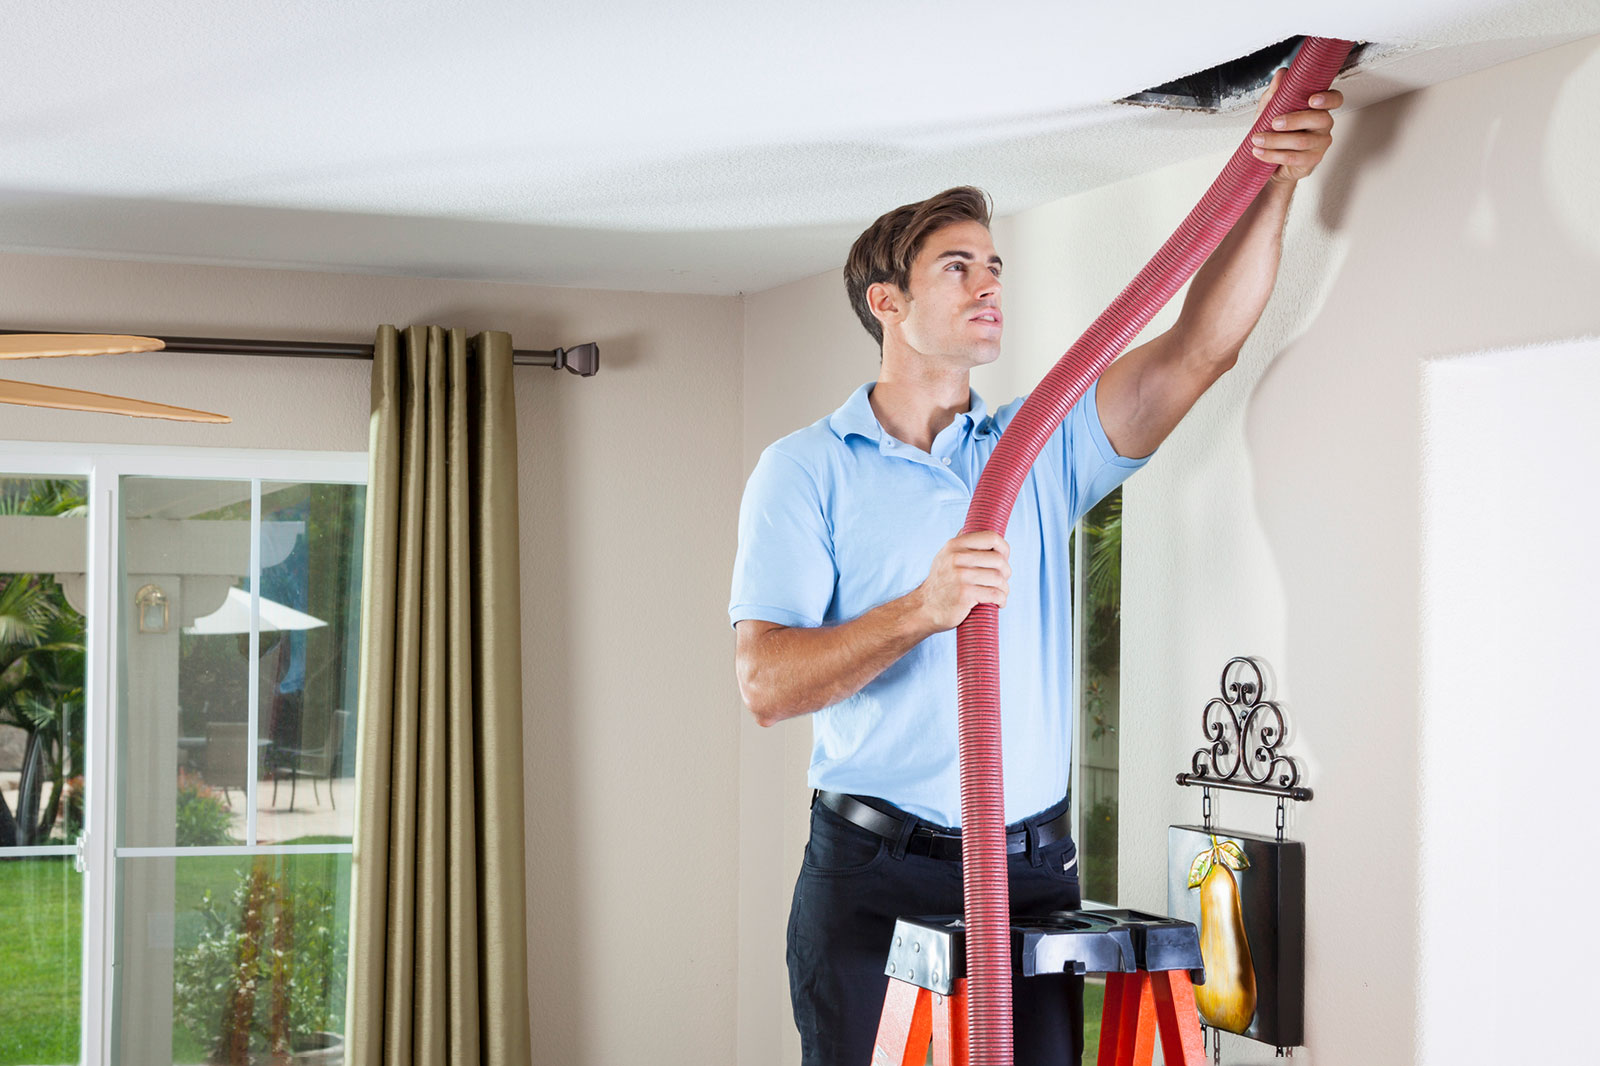
Use a vacuum cleaner with a brush attachment to loosen up dust, dirt, and debris for visible air ducts. Move the brush in circular motions, then use the vacuum to suck up anything that comes off. Use your thermostat to “fan” and “on” settings to help the debris move into the air ducts. It’ll push the dust closer to the registers for easy cleaning.
2. Turn Off Your HVAC System
To keep dust from circulating throughout your home, turn off the power to the HVAC system. This will prevent it from blowing dirt and debris into other areas of your house as you clean. Access your electrical box and switch off the breaker for your HVAC system.
3. Remove Your Vent Grates
To remove the vent grates, use a flathead screwdriver. Pry up each corner until the grate pops off. If you have screws, unscrew them and pull the grate away from the wall. For the vents on the ceiling and walls, use a ladder to reach each one.
Place all of your vent grates in a safe spot while you clean. Number each one with a marker to reconnect them to the right spot at the end. Also, remember the order of each grate so you can replace them in their correct location.

4. Clean Vent Grates
If the vent grates are covered in dirt and dust, use a damp cloth to wipe them down. Rinse off the cloth as needed to get rid of dirt particles. For metal grates, you can use a non-abrasive cleaner and cloth.
Once finished, let the grates air dry before you place them back on your vents. For plastic grates, you may need to use a blow dryer or towel to dry them off completely. You don’t want excess moisture in your air ducts, which can cause mold and mildew to form.
5. Vacuum Your Air Ducts
If you have a vacuum cleaner with extendable tools, use it to clean the inside of your air ducts gently. Aim towards the vents while vacuuming, and move slowly as you go. Make sure to reach the end, as this will help you remove dust and debris.
Use dampened rag to wipe down the inside of your duct system if needed. Also, try using a brush attachment to scrub away tough dirt spots. Use a blower to force debris toward the vents for longer air ducts.
6. Clean Your Air Return
Please take out the filter from the air, return and clean it. If you have reusable air filters, soak them in hot water and dish soap for about 10 minutes. Rinse off any remaining soap with warm water before putting it back into your air return.
For disposable filters, throw them away and replace them with new ones. Check your air filter every two months to keep your air ducts in top shape.
7. Place Your Vent Grates Back
Once you’ve vacuumed and cleaned your air ducts, replace the vent grates. Put each one back in its original spot and use a screwdriver to tighten any screws needed. Also, ensure the grates are secure and flush against your wall or ceiling.

8. Clean Your Furnace Blower Compartment
Unscrew the door to the blower compartment and use a soft brush attachment on your vacuum cleaner to remove any dust or debris from the fan blades, motor, and other components. If you notice condensation buildup, wipe it down with a clean cloth. Make sure all screws are tightened, and the wiring is secure. As you reassemble the compartment back together, use a vacuum cleaner again to remove any dust or debris that may have been stirred up.
9. Turn Your System Back On
After cleaning your dirty air ducts, turn the power back on to your HVAC system. Ensure all the vent grates are closed and secure before turning them on. This will ensure that dirt and debris stay out while your system runs. Also, check your filter to ensure it’s clean and in good condition.
10. Enjoy Cleaner Air
Now that the air ducts are cleaned, you can enjoy breath cleaner and fresher air in your home. Regular heating and cooling system maintenance are important to ensure a healthy environment for your family. Remember to check and clean your filters every two months and have air duct cleaning professionals come out and inspect your system annually. Doing so can help you save money in the long run by catching small issues before they become costly repairs and dealing with indoor air pollution effectively.
How To Prevent Duct Contamination In The Future
Once your air ducts have been cleaned and are in a better state, there are some steps you can take to prevent contamination from happening in the future.
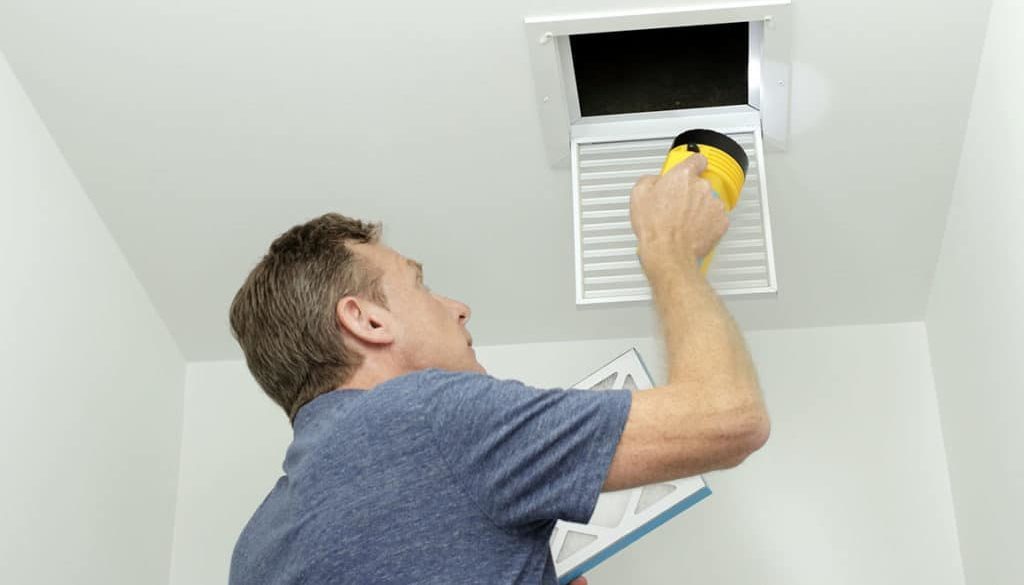
- Inspections: It is important to regularly inspect your air ducts for any signs of damage or blockages which could cause dirt buildup. This may involve visual inspections and check for airflow changes.
- Maintenance: Homeowners can help clean their air ducts by regularly replacing filters and vacuuming around the vents. This will help to prevent dirt from entering the system in the first place.
- Use High-Quality Filters: Filters with high MERV ratings (Minimum Efficiency Reporting Value) will trap more dust and debris and prevent it from entering your air ducts.
- Seal Leaks: Ensure all the vents and seals around the system are properly sealed to prevent outside air from entering. This will help keep dirt and dust out of your heating and cooling systems.
Benefits Of Clean Air Ducts
Several health benefits arise from having clean air ducts, including:
1. Fewer Allergens
By removing dust, debris, and dirt from the air ducts, allergens like pollen, pet dander, and mold spores that circulate in your home can be reduced. Also, your home’s air quality will improve, helping you and your family breathe easier.
2. Better Air Quality
When air ducts are kept clean and debris-free, the air quality in your home will improve. Unnecessary contaminants that can lead to respiratory illnesses and other health issues can be eliminated when air ducts are regularly maintained.
3. Lasting System Performance
Regularly cleaning your air ducts is important to ensure that your HVAC system works efficiently. If air ducts are not cleaned often, dirt and dust can build up in the system and cause it to run inefficiently. This could result in higher energy bills and costly repairs down the line.
4. Improved Efficiency
Cleaning your air ducts can help ensure that the system runs efficiently. Allergens and other contaminants can impede airflow, causing the HVAC system to work harder than necessary and use more energy, resulting in higher monthly bills.
5. Unattractive To Animals
Cleaning air ducts can also keep your home free from animals. Rodents, birds, and other pests may be attracted to the debris in air ducts. Cleaning them out will ensure these unwanted guests don’t make a home in your air ducts.
Conclusion
For those who want to undertake this project, following the proper steps and using the right equipment is key to success. Knowing these aspects can give homeowners confidence in their ability to do the job themselves. Improve the air quality in your home and the energy efficiency of your HVAC system by taking time to clean your air ducts.
Don’t forget to take safety precautions while performing this job, and always consult a professional HVAC service provider if you are unsure of any steps or need further guidance. With the right tools, processes, and information about air ducts, homeowners can take control of the quality of their home’s air.


