Waterproofing is essential for a new foundation wall to protect your property from water damage. It helps ensure the building stays dry and prevents mold and mildew growth. It also improves the overall durability of the structure. To provide effective waterproofing solutions, it’s important to understand the principles of how water behaves and what techniques are used to keep it out. Let’s have a look at what waterproofing involves and some of the ways it can be implemented.
How Water Infiltrates Foundation Walls
Foundation walls are the first line of defense against water infiltration. Without proper waterproofing, moisture can seep into your attic or basement and cause many problems. But how exactly does water get inside those walls in the first place? Here’s what you need to know:
- Capillary Suction: Capillary suction is the ability of water molecules to move through porous materials. This process, known as capillarity, enables water to penetrate small cracks or pores in foundation walls. The size of the pores determines how much moisture can enter and eventually build up inside your basement or attic.
- Hydrostatic Pressure: When there is a large amount of water outside a foundation wall, it exerts an outward pressure against the wall. If the pressure is too great and the wall isn’t adequately sealed, water can find its way through tiny cracks or holes in the foundation.
- Drainage Failure: Building foundations are designed to keep water from your home. But if the drainage system becomes blocked or fails, water can accumulate near your foundation walls and eventually seep through them.
Dampproofing Vs. Waterproofing
To ensure optimal protection for your foundations, you must decide between dampproofing and waterproofing. Dampproofing is used when a surface needs to be treated against the passage of moisture in non-hydrostatic conditions. Meanwhile, waterproofing treats surfaces to prevent water from entering under pressure, an essential layer of defense when drainage at the bottom of foundation walls is faulty.
For a more effective form of protection, it’s important to remember that dampproofing can’t seal larger cracks and holes or remain durable when faced with hydrostatic pressure. Also, backfilling carelessly could potentially damage the damp-proofing. Waterproofing materials are a better option when protecting your structures from water accumulation.
IRC Section R406 outlines the conditions that necessitate waterproofing or damp proofing of foundations.
- Masonry and concrete walls built to retain earth and enclose interior rooms and floors below grade must be damp-proofed from the top of the footing to the finished grade.
- Bituminous coating and acrylic-modified cement are acceptable materials for this purpose.
- Wood foundations should be damp-proofed by Sections R406.3.1 through R406.3.4 for any below-grade habitable or usable spaces.
- Precast concrete foundations need to be damp-proofed according to Section R406 unless specific waterproofing measures are indicated by Section R406.2.
Types Of Waterproofing Membranes
To ensure that your new foundation walls are safe from water damage, you will need to choose a suitable waterproofing material. These types include:
1. Liquid-Applied Membrane
SBR (styrene-butadiene rubber) is ideal for waterproofing concrete foundation walls. The material functions as a true waterproofing barrier that can resist hydrostatic pressure, although we still recommend limiting this force if possible. The liquid-applied membrane is sprayed onto the structure in one single layer, which helps create a monolithic seal.
Liquid materials form a perfect fit at more vulnerable areas, such as points of transition between the footer and the foundation wall, inside corners, or pipe penetrations. This eliminates the need for tricky origami.
Apply the material with a sprayer and check for a 60-mil thick coat. As the solution dries, it shrinks to 30 mils. We recommend using sealant to fill in any large voids or imperfections on the wall’s surface before applying the membrane. Once applied, inspect the surface for any pock marks or areas of incomplete coverage. Then use the sealant again to fill in any holes, ensuring a perfect seal.
2. Peel And Stick Membranes
For a dependable waterproofing solution, peel-and-stick membranes are the way to go. For optimal results, the membrane should be 40 mils thick and applied horizontally on the footing ledge and up the wall for at least a foot. Additionally, it’s important to have an overlapped vertical leg of a cold joint barrier with a 40-mil thick peel-and-stick product at least 3 feet wide. Primer is necessary to ensure the best adhesion. Once the primer is applied, you can peel off the backing and adhere it to create a secure bond.
According to your local requirements, exterior insulation should be added over the waterproofing membrane. Plastic stab anchors are a great way to install the insulation as they have a peel-and-stick adhesive that bonds to the wall membrane. Place the anchors and push the insulation onto them. And lastly, ensure no penetrations through the waterproofing membrane for reliable results.

3. Cementitious Coatings
Made of a flexible material and applied with a roller or brush, cementitious coatings are another option for waterproofing foundation walls. These coatings form an effective watertight barrier that can withstand repeated wetting and drying cycles. However, this type of waterproofing also requires skilled installation, as it must be thoroughly applied to create a watertight seal.
4. Bentonite Panels
HDPE or bentonite panels are a popular waterproofing system, particularly for commercial projects, due to their durability and resistance to degradation from wetting or drying cycles. It involves installing a layer of sodium bentonite clay along with high-density polyethylene sheeting on the exterior of a foundation before backfilling. The clay’s moisture-absorbing properties help form a watertight barrier when it comes into contact with groundwater.
5. Thermofusible Membranes
Thermofusible membranes are made from styrene-butadiene-styrene-modified bitumen and require a torch to melt the backing and soften the bitumen. This method provides complete coverage of joints and other details, but it is also more hazardous as it requires skilled application by an experienced installer.
Steps For Waterproofing Foundation Walls
Waterproofing a new foundation wall will prevent water seepage through the wall and into living spaces, which can cause structural damage over time. The steps will include:
1. Clean The Surface Of The Foundation Wall And Footing
Before starting any application process, you must ensure that the foundation wall and footing are free of loose materials and have a reasonably smooth surface by thoroughly cleaning them first. Try to remove the dirt and debris with a pressure washer. Also, fill any cracks and holes with non-shrink grout or patching cement. Use a wire brush to scrape any remaining dirt and debris for a complete job.
2. Check Manufacturer Literature For Temperature Limitations
It is important to check the manufacturer’s literature for temperature limitations before applying the concrete wall waterproofing membrane. The cold or hot temperatures can affect the outcome of the waterproofing system. You must make sure the temperature does not exceed the limitations. Also, you need to allow for some additional time for the membrane to cure in cold temperatures.
3. Apply The Waterproofing Membrane
Once you are sure that all the cleaning, filling, and temperature considerations have been taken care of, you can apply the waterproofing membrane. The most commonly used membranes include liquid-applied and sheet-applied membranes. Liquid-applied membranes are applied with a brush, roller, or sprayer in thin layers, while the sheet membrane is laid down over the wall and applied like wallpaper.

4. Install A Drainage Mat
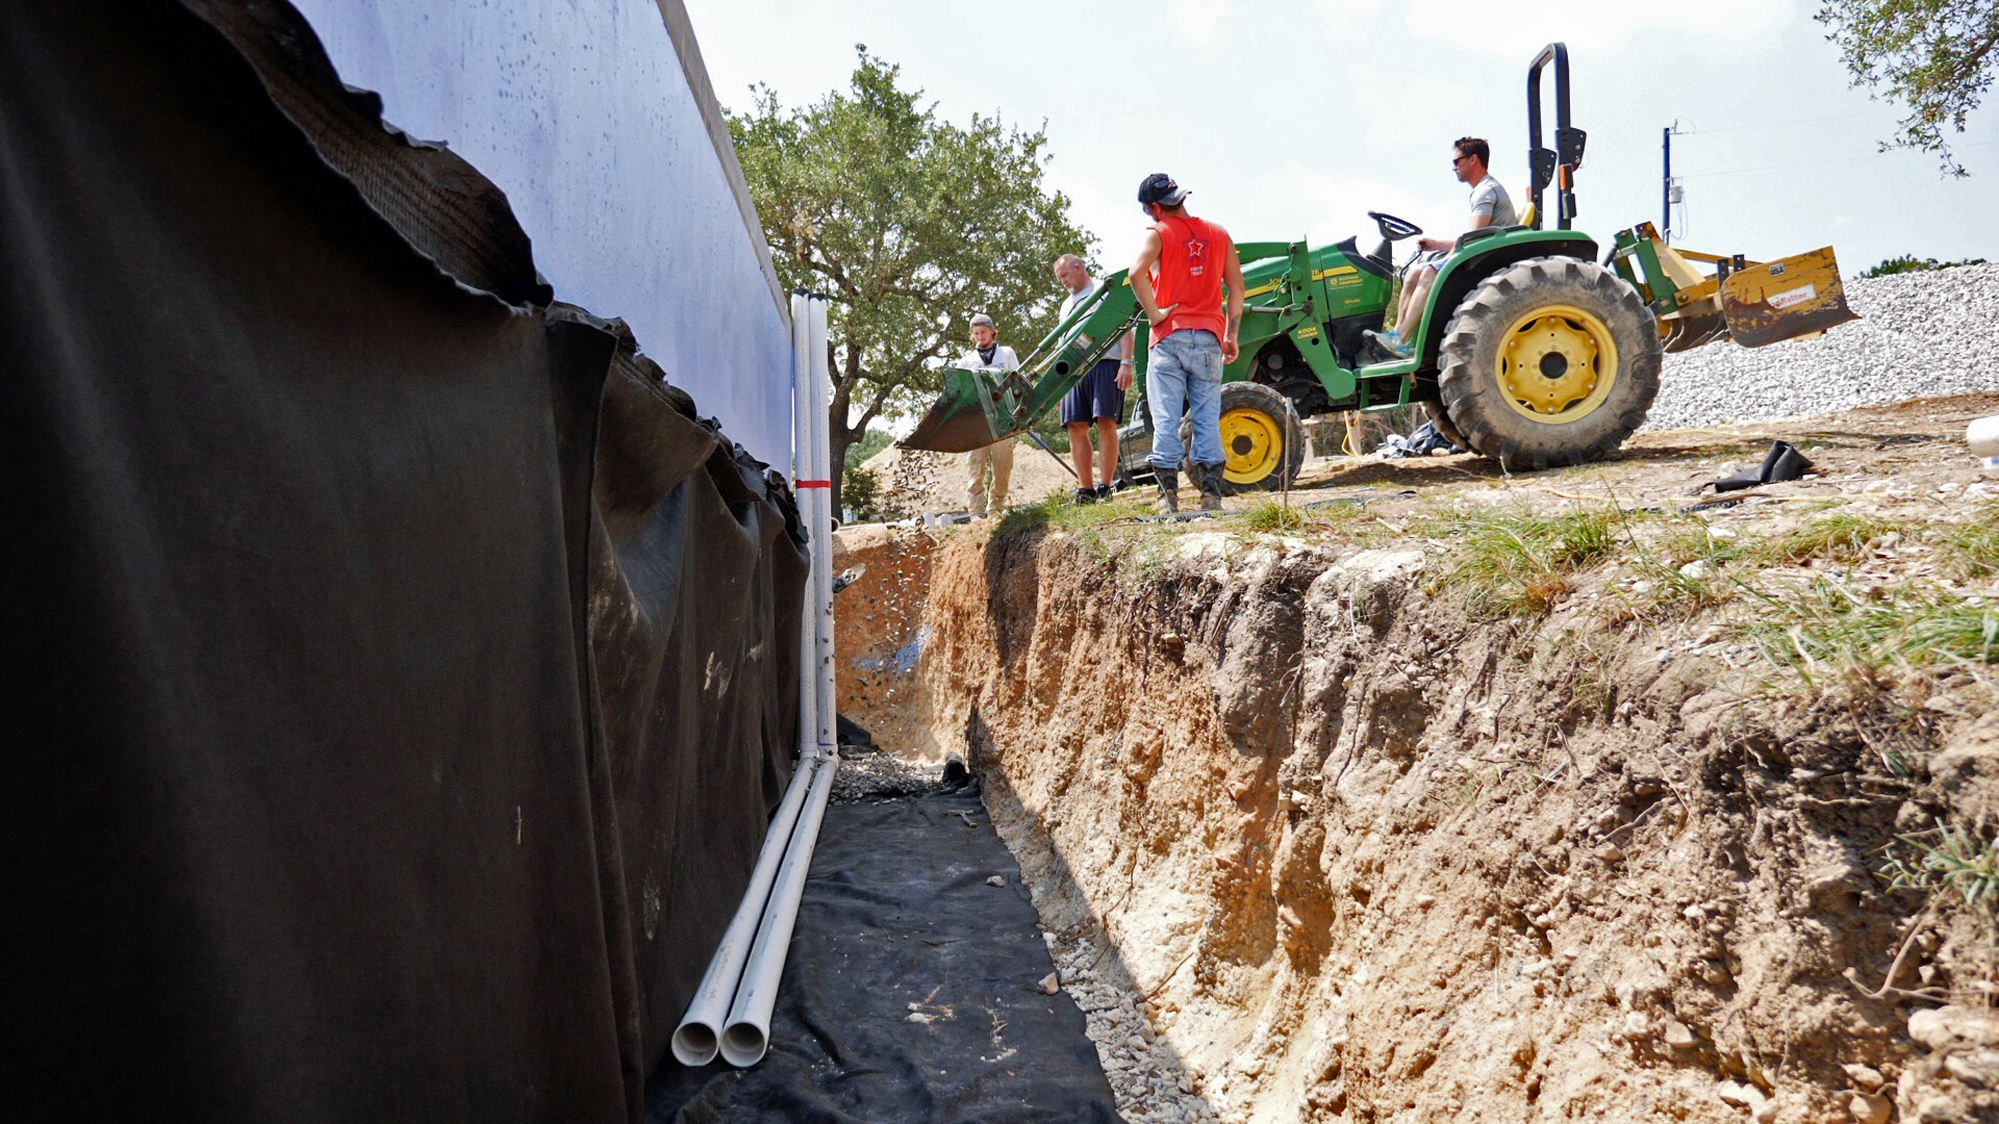
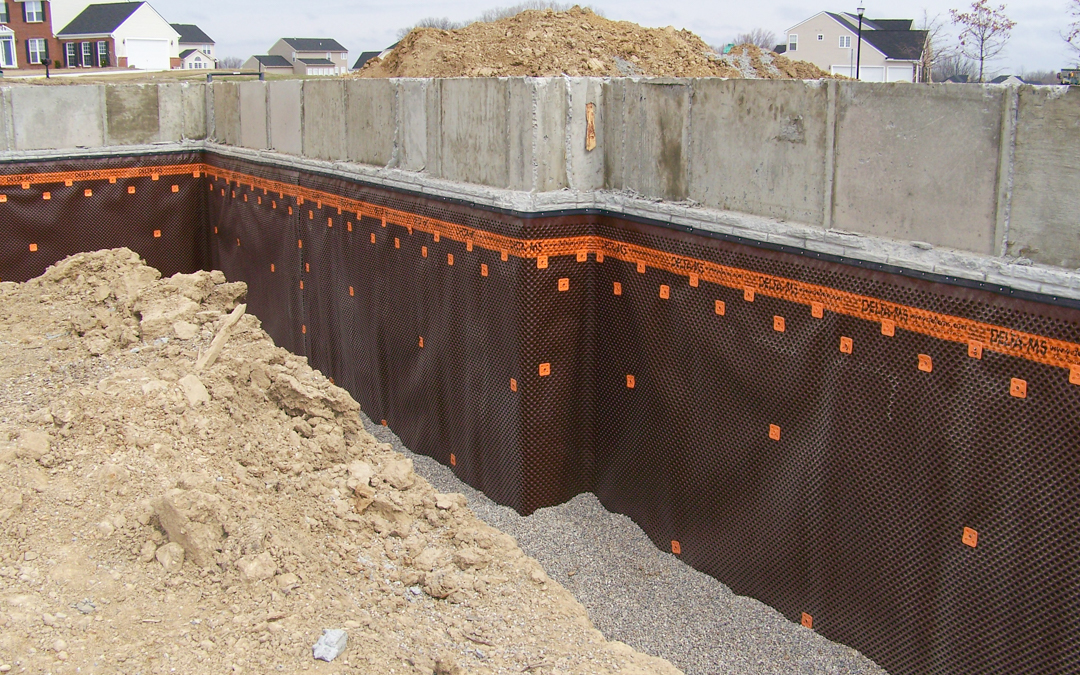
A drainage mat should be installed to help direct water away from the foundation wall. It is a plastic sheeting that is installed between the foundation wall and the waterproofing membrane. The mat should be cut to fit and secured with nails or staples. Also, check the manufacturer’s directions for any special techniques to install the drainage mat.
5. Backfill With Gravel
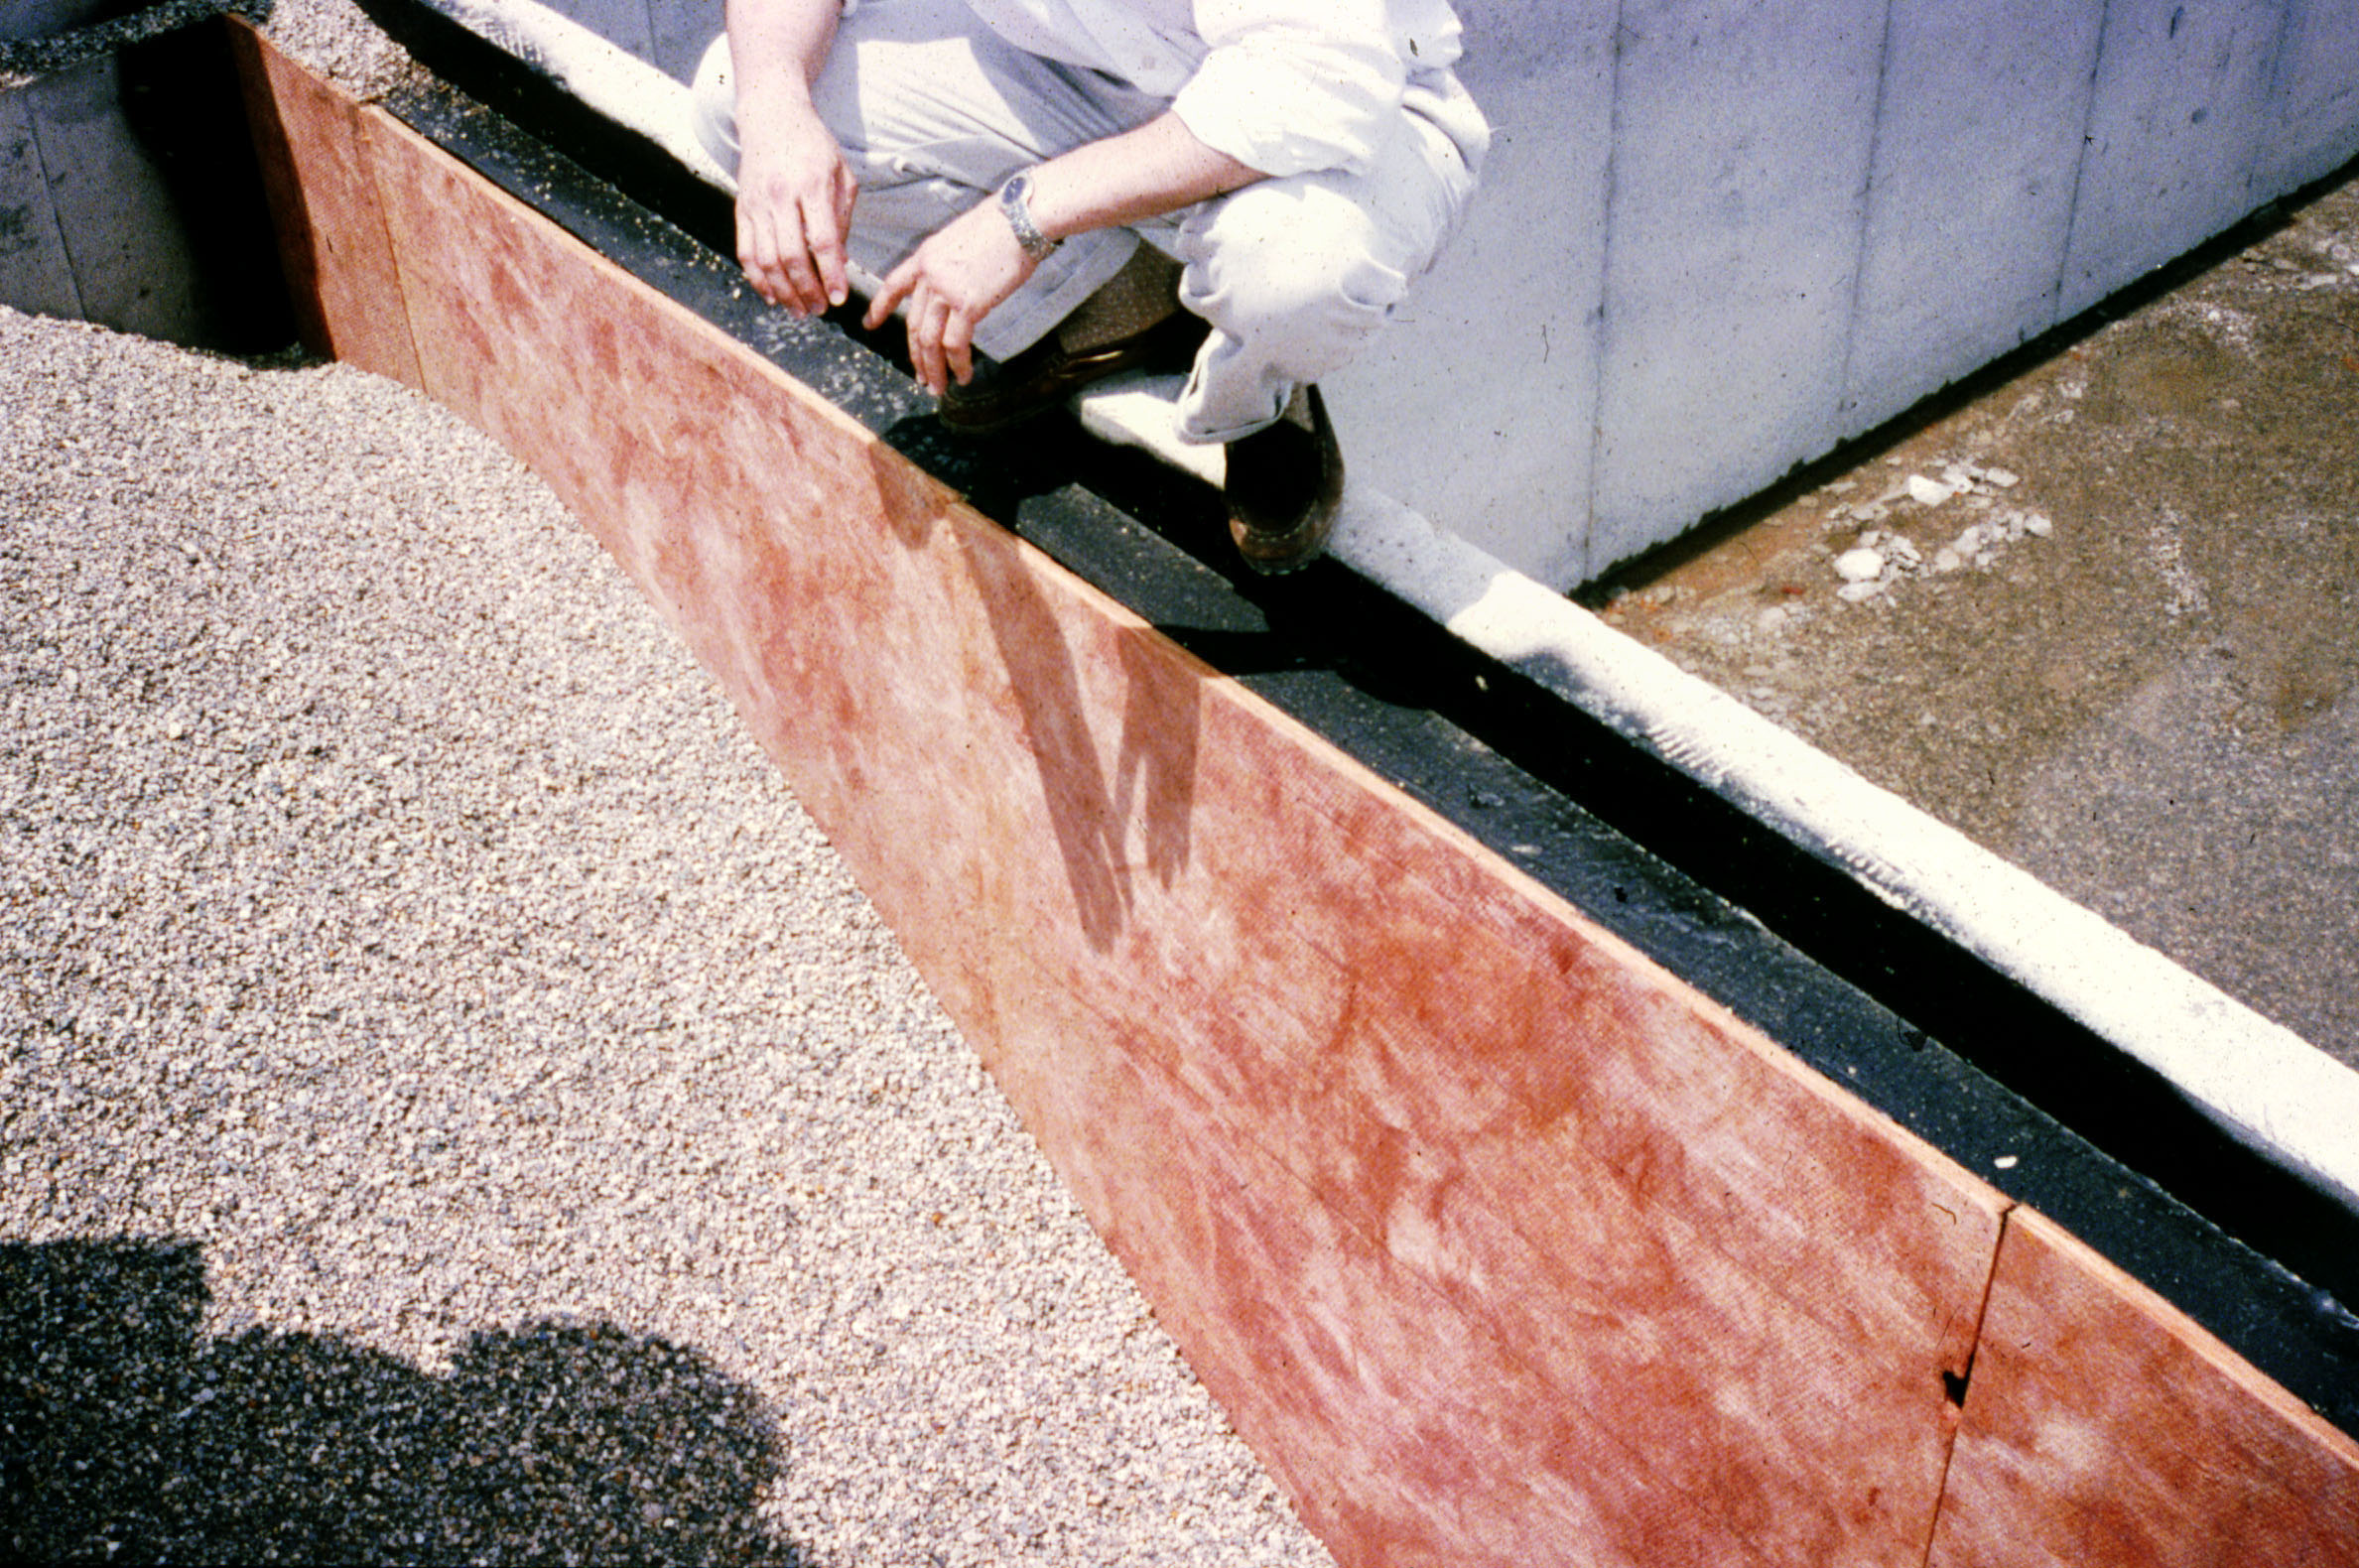
Once your drainage mat is in place, you can backfill your foundation wall with gravel. This will help with the drainage of water away from your structure and will help to avoid water build-up. Make sure to compact the gravel as you backfill, so there are no gaps or pockets that could allow water infiltration.
6. Apply A Waterproofing Sealer
The last step in waterproofing a foundation wall is to apply a sealant. This can be done with either a paintbrush or roller. Make sure that you apply the sealant evenly so there are no gaps in coverage. Also, please read the manufacturer’s instructions carefully to determine how many coats of sealant should be applied and how long it needs to cure before being exposed to water.
Other Tips To Follow
Some other tips for waterproofing for new foundation walls include:
- Optimize Protection: For long-term protection, consider using two or more waterproofing systems on walls with earth on one side and living space on the other.
- Watch For Lower Areas: Low spots or depressions in the walls and floor should be filled with an appropriate mastic or mortar before applying a waterproofing system.
- Check for Damage: Have workers inspect the concrete for erosion and spalling. If present, these areas must be repaired before waterproofing can begin.
- Protect the Membrane: Cover any exposed membrane with heavy-duty plastic sheeting or a protective covering to protect it from damage due to backfill operations and foot traffic.
- Follow Manufacturer’s Guidelines: Always review and follow the manufacturer’s installation instructions to ensure that waterproofing systems are installed correctly.
- Extend Waterproofing: Extend waterproofing at least 12 inches onto intersecting walls and consider extending it further on very wet sites.
- Verify Coverage: Conduct thorough inspections before and after installation to confirm that adequate coverage has been achieved.
Safety Considerations
For below-grade waterproofing, working alone isn’t recommended. If you’re using a subcontractor, ensure they adhere to written safety protocols and comply with hazard-communication requirements. It’s important to keep all other tradespeople and workers away from the waterproofers’ work area. Some primary safety concerns to be aware of when waterproofing are:
- Flammable Materials: Many waterproofing products contain solvents, so avoid ignition sources near the work area.
- Respiration Hazards: Wear a respirator as the manufacturer recommends, particularly when using solvent-based materials. In confined spaces, an air-fed respirator may be necessary.
- Skin Injuries: Wear protective clothing and gloves to protect against harmful chemicals in waterproofing materials. When cleaning tools in solvents, use chemical-resistant gloves.
- Injection Hazards: Be vigilant when using or around spray equipment, as high-pressure airless sprayers can inject toxins into the bloodstream.
- Eye Injuries: Prevent eye injuries by wearing protective glasses or goggles, especially when working with liquids.

FAQs
1. How Do I Stop Leaks In Existing Foundations?
For existing foundations, stopping water leaks can be done from the outside (positive side repairs) or the inside (negative side repairs). Try inspecting the grade around the house and the condition and function of gutters and downspouts to ensure that runoff is directed away from your home. Sometimes, this may be enough to solve wet basement wall issues.
2. How Do I Waterproof A Concrete Wall?
For concrete walls to be successfully waterproofed, the foundation should be protected from soil and liquid moisture. To ensure optimal protection, it is important to apply waterproofing systems to all walls with earth on one side and usable space on the other (this includes crawl spaces). Furthermore, waterproofing should be extended at least 12 inches onto intersecting walls. In particularly wet sites, waterproofing should be applied to other walls to prevent water from entering occupied spaces through the keyway, footing, and other areas.
3. What Is Positive-Side Waterproofing?
It is when a waterproofing membrane or layer is installed between the substrate and the water source to protect the interior from moisture damage. It is also known as exterior-side waterproofing since it protects from water outside the building. This approach has proven successful in keeping out water more reliably than other methods. Also, inspecting lap joints and any defects can be done easily with full visibility. It is, therefore, the preferred option for protecting a new foundation wall from water infiltration. It is effective and offers long-lasting protection.


