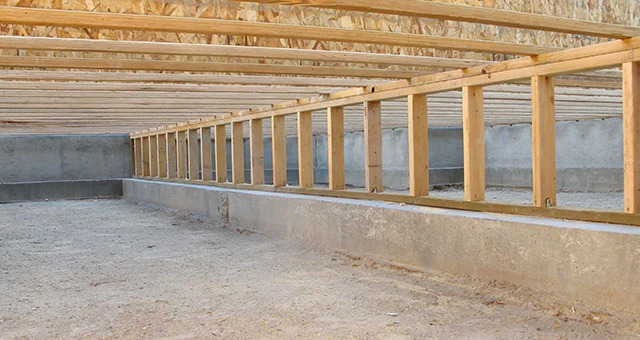
Do you face moisture, mold, or mildew problems in your home due to open vented crawl spaces? Or, maybe you have high heating and cooling bills? If so, it might be time to consider encapsulating your crawl space.
While the crawl space encapsulation process may sound daunting, it’s a straightforward process that can be completed over a weekend. And, once it’s done, you’ll see improved indoor air quality, reduced energy bills, and peace of mind knowing your home is more protected from the elements.
This article will show you how to encapsulate a crawl space step-by-step. We’ll also answer common questions about the process, such as how much it costs and whether you need a professional to do it. Let’s get started!
What is a Crawl Space Encapsulation?
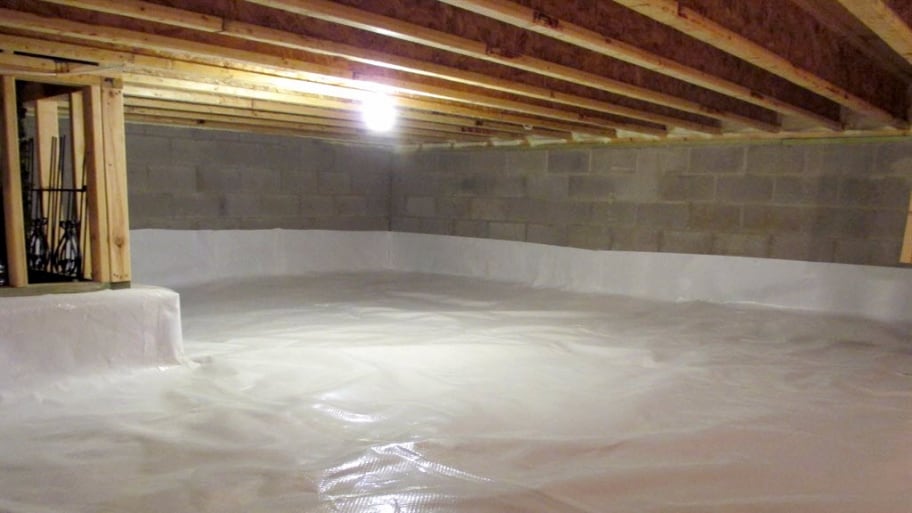
A crawl space encapsulation refers to sealing your crawl space from the outside elements to create a controlled environment. This can be done by installing a vapor barrier on the floor and walls and sealing any cracks or openings. Doing so will help prevent moisture, mold, and mildew from entering your home and create a healthier living space.
There are many crawl space encapsulation pros, such as:
- Preventing Moisture and Mold Growth: A moist environment is the perfect breeding ground for mold and mildew. By sealing off your crawl space, you can help to prevent these harmful organisms from entering your home and causing respiratory problems or other health issues.
- Enhancing the Value of Your Home: An encapsulated crawl space can add value to your home if you ever decide to sell. Also, it’ll avoid structural damage from moisture and mold growth.
- Reducing Energy Costs: A properly sealed and insulated crawl space will help to keep your home cooler in the summer and warmer in the winter. This can lead to lower energy bills and increased comfort for you and your family.
- Improving Air Quality: By reducing the number of allergens and other pollutants in your home, you can help improve the air quality of everyone who lives there.
- Controls Pest Infestation: Shield your home from pests by adding a protective layer against them. A properly installed encapsulation can help stop termites from entering the home as well as rodents, termites and other insects.
- Creating a More Comfortable Home: An encapsulated crawl space can make your home more comfortable by regulating the temperature and humidity levels. This can create a healthier environment for you and your family.
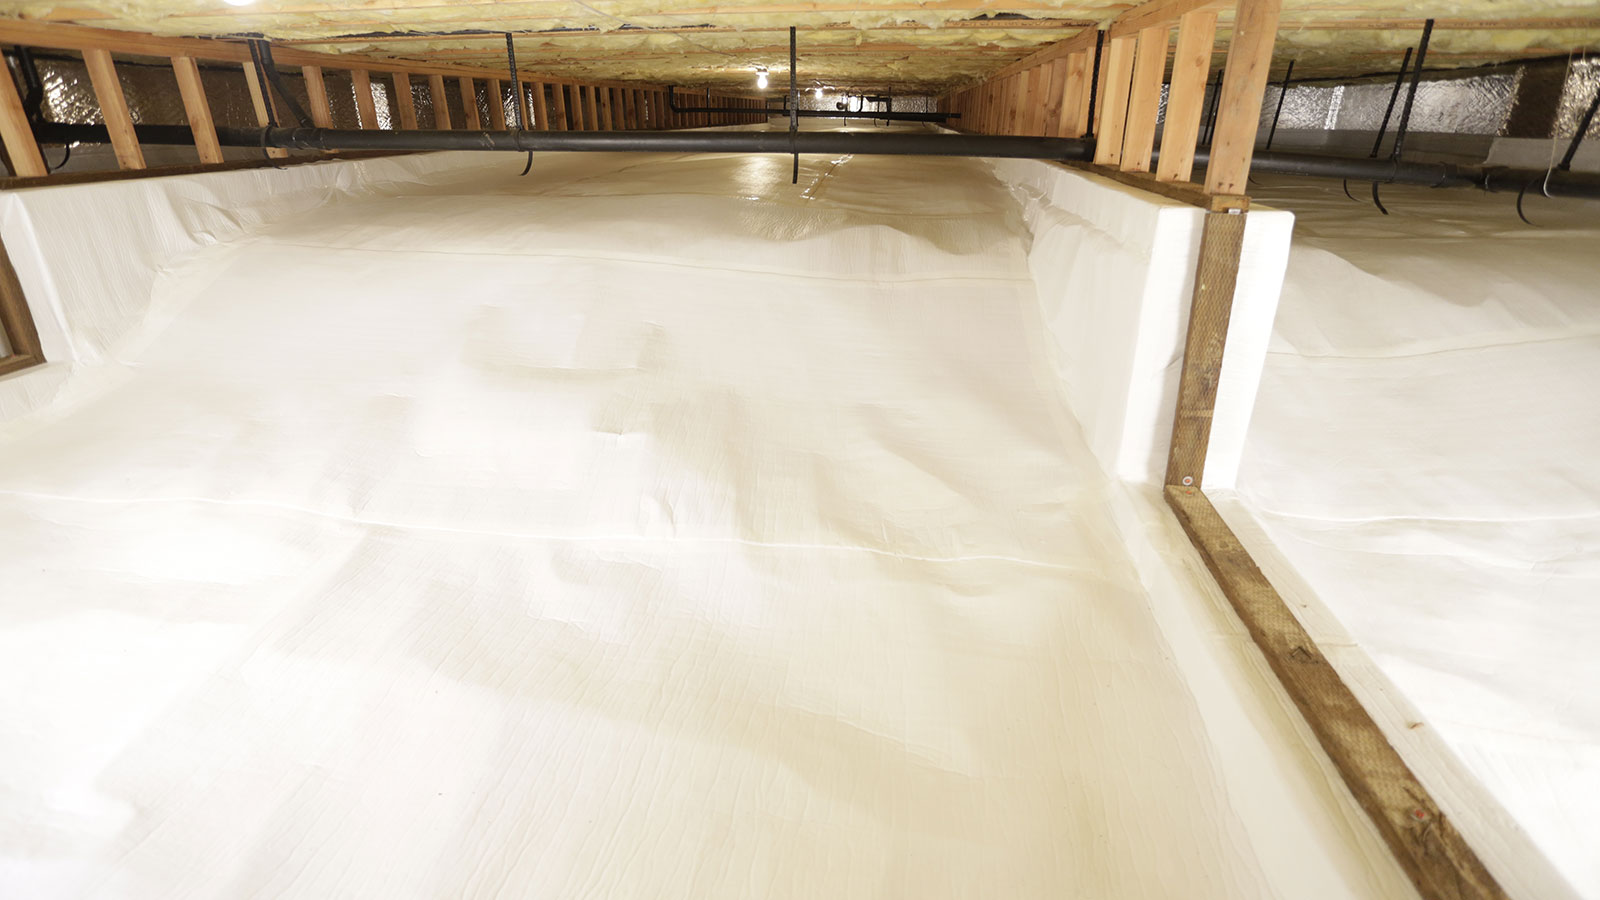
How to Encapsulate Crawl Space
Several homeowners choose to take on the task of crawl space encapsulation themselves rather than hiring a professional. If you’re considering taking this route, there are a few things you need to know first. Be sure to clearly understand the process before attempting it and what materials you’ll need. With that said, here are the steps for DIY crawl space encapsulation:
Steps for a DIY Encapsulated Crawl Space
1. Prepare the Crawl Space
Before starting the encapsulation process, you must prepare the crawl space. It includes:
- Deal With Standing Water: If you have water pooled in your crawl space, remove it before starting the encapsulation process. The best way to do this is by installing a sump pump.
- Clean Up Debris: Any debris in your crawl space needs to be removed. This includes things like old insulation, construction materials, and general refuse.
- Inspect The Framing: Check the framing of your crawl space for any damage. If there is any wood rot, you’ll need to replace it before moving forward.
- Conditioned Air: Determine if you need to add conditioned air to your crawl space. This is usually only necessary if the space is not connected to your home’s HVAC system.
While preparing the crawl space, take the time to inspect the condition of your foundation. If you notice any cracks or other damage, you should have them repaired before continuing. It’s also a good idea to have your foundation waterproofed at this time. Don’t forget to check the grading around your home as well. Proper grading will ensure that water drains away from your foundation and doesn’t pool near your crawl space.
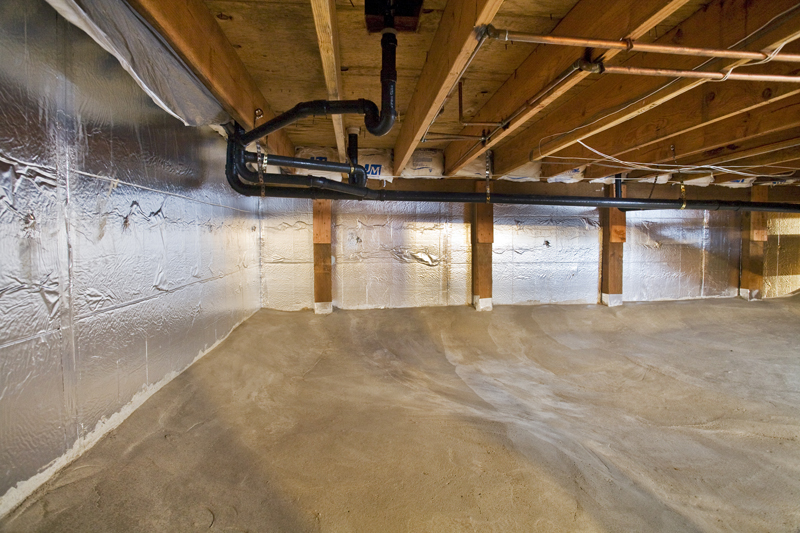
2. Cover the Vertical Walls
The next step is to cover the vertical walls of your crawl space with a moisture barrier. With the help of double-sided construction tape, adhere the moisture barrier to the walls, pressing it firmly into place and moving it in a straight line to avoid any sticky messes. Once the moisture barrier is in place, you can secure it with a termination bar. Leave a small gap at the top of your masonry walls to comply with local building code requirements. This gap will allow access for termite inspectors to do their job.
Also, when removing the second release liner, use a rubber paint roller to ensure the double-sided tape is properly affixed to the wall. This will ensure a tight seal.
When applying the vapor barrier, choose a lightweight vertical surface application. This will make it easier to install. Make sure to select a vapor barrier manufacturer that offers a variety of roll sizes and dimensions.
Apply the crawl space vapor barrier to the exposed, double-sided tape on the vertical wall. Remember that this tape provides a seal against harmful moisture and odors in the crawl space. Be sure to apply it firmly and evenly around masonry walls.
Extend the vapor barrier higher than the double-sided tape. To secure the vapor barrier to concrete, use a mechanical fastener like termination bars. Most masonry screws require pre-drilling a hole into the concrete wall. If the termination bar has specific holes to hit, use it as a template to mark your holes with a marker.
Drilling through masonry can be difficult and time-consuming, so consider renting a powder-actuated gun from your local tool rental or home improvement store to speed up your project.
3. Seal the Pipes
Next, you’ll need to seal pipes or other utility penetrations from the ground into your house. It’s best to work around these tricky spots with small detail patches of material. By sizing the vapor barrier to each penetration and cutting slits in the material to fit around tight spots, you’ll save a lot of time and effort trying to roll out material in these areas.
Seam the vapor barrier tightly around each pipe or penetration using seaming tape. This will create a monolithic seal of your crawl space from vapor and soil gases. Also, make sure to seal any gaps around your foundation walls.
We recommend using ELK vapor barrier seam tape.
4. Address the Columns
Next, you must take care of the columns in your crawl space. They can be a conduit for moisture and pests if not properly encapsulated. You can use double-sided tape or a sealant to encapsulate your columns properly.
While the foundation walls might have included enough vapor barrier material to lay flat on the ground, this extra material can make it more difficult to encase columns. To do so, at each corner of the column, cut a relief slit into the material so that it lays flat.
This will allow for a tight, four-sided encapsulation of the column while providing a nice seaming target to use when rolling out the material on the ground. Also, seal any cracks or gaps in the column with a caulking gun and a quality sealant.
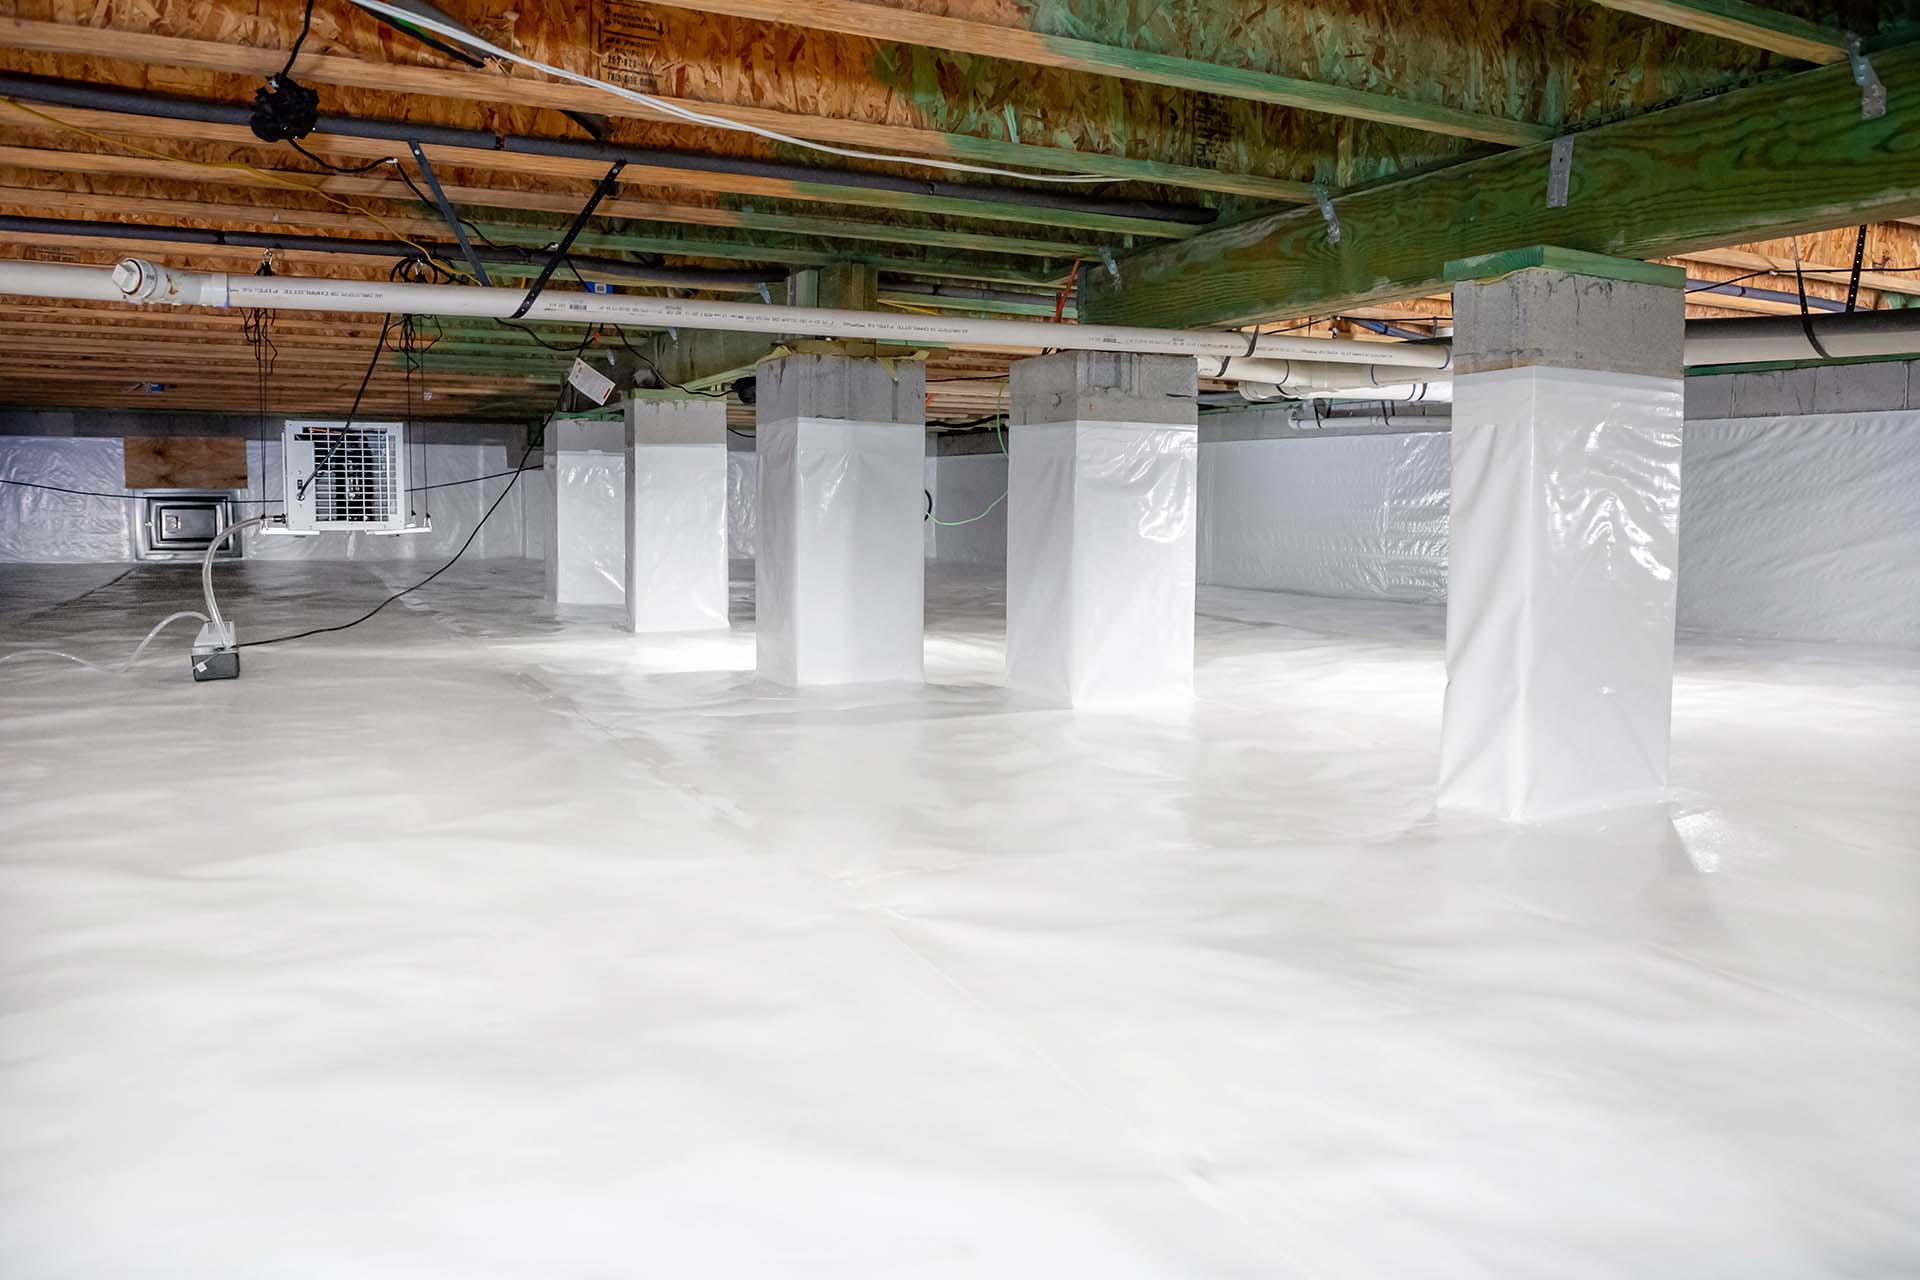
5. Roll Out the Barriers
After the columns of the crawl space have been properly addressed, you can begin rolling out the vapor barrier material on the ground. It is important to use a heavy-duty material for this process, as you want it to withstand any moisture or pests that might try to penetrate it.
Be sure to overlap the seams of the material by at least six inches and use heavy-duty tape to seal them. Be sure to tuck the material underneath any pipes or other objects in the crawl space, so there are no gaps. Also, seal any cracks or holes in the foundation walls with a caulking gun and a quality sealant.
6. Tape the Seams
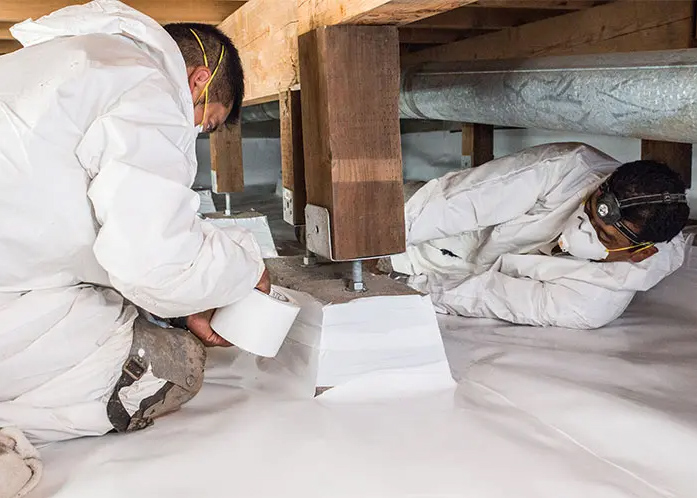
Once the vapor barrier material has been laid out on the ground, you must tape all of the seams to create a continuous, watertight seal. Be sure to use heavy-duty tape that is specifically designed for vapor barriers. You can find this tape at any hardware store. Start by taping the seams of the material on the ground. Then, move on to seal any cracks or gaps in the foundation walls.
Finally, tape around any pipes or other objects in the crawl space. This will create a watertight seal that will prevent moisture and pests from penetrating the space. Also, use a caulking gun and a quality sealant to seal any cracks or gaps in the vapor barrier material. This will ensure that your crawl space is properly encapsulated.
What’s a Crawl Space Encapsulation Cost?
The crawl space encapsulation cost can vary depending on your home’s size and the moisture problem. A small, one-story home with limited moisture may only cost a few hundred dollars to encapsulate. A larger, multi-story home with more extensive moisture damage could cost several thousand dollars. Some factors that will affect the cost of your crawl space encapsulation project include:
- Materials and Labor: Materials like 6 mil polyethylene sheeting, 2×4 lumber, and insulation will be required for your project. The number of materials you’ll need will depend on the size of your crawl space. The labor cost will also vary depending on the size and complexity of your project.
- Crawl Space Size and Condition: If your crawl space is large or has significant moisture damage, it will likely be more expensive to encapsulate.
- Home’s Location: The cost of materials and labor can vary depending on your home’s location. If you live in an urban area, the cost of your project may be higher than if you live in a rural area.
- Permits: Depending on the scope of your project, you may need to obtain permits from your local government. The cost of permits can vary depending on your location and the type of permit required.
- Foundation Waterproofing: With some encapsulation projects, foundation waterproofing may be required. This can add to the overall cost of your project.
The average cost to encapsulate a crawl space is between $1,500 and $4,000. However, the final cost will depend on the factors listed above. The best way to get an accurate estimate of the cost of your crawl space encapsulation system is to contact a local crawl space encapsulation contractor.
Conclusion
With all the information above, you should be able to encapsulate your crawl space like a pro. If you have any questions or need help, don’t hesitate to contact a professional. Remember, a properly encapsulated crawl space will not only improve the quality of your home, but it can also save you money on energy bills and prevent moisture-related damage.
So, don’t skimp on this important home improvement project. Done correctly, it will pay for itself many times over.
Be sure to check out our other essential crawl space guides.

