No one likes the sight of a sagging floor. Not only does it make your home look unsightly, it can also cause further damage to other parts of the house and even lead to safety hazards. The structural integrity of a home is only as strong as its weakest points, and the flooring is one of those weak spots.
Fortunately, fixing a sagging floor is not impossible if you know what to do. This guide will cover all aspects of how to fix a sagging floor, from identifying the cause to finding the best solution for your situation. Let’s get started.
When Do You Need Sagging Floor Repair?
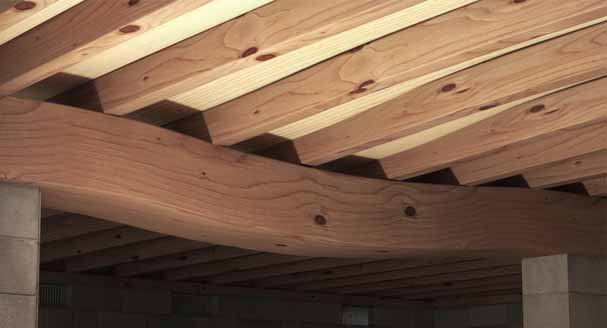
The floors in your home are an integral part of its structure, and keeping them in good condition is important. If you notice a dip in the floor, it’s a sign that you need to tackle sagging floor repair as soon as possible. Areas with weak or inadequate support may cause joists to sag over time due to the structure’s weight and furniture resting on them.
Common areas of concern are above basement stairs, near walls with large windows, or any area with soft soil beneath the house. Failing joists will cause noticeable dips in the floor and creaking and squeaky noises. If your home is older, it may be more prone to sagging floors due to age-related wear and tear.
Also, keeping an eye on any wood rot or termite damage is important, as these could lead to weakened support and sagging floors. If you spot any signs, it’s time to investigate further and make any necessary repairs.
Getting A Project Perspective
Ideally, your floor joist bays should be open and free of obstructions. Unfortunately, this isn’t the case for most homeowners. You may have to work around heavy appliances in the damaged area or prior DIY repairs done by previous owners.
Additionally, you might need to remove old features such as corbeling if your home is older. Corbeling is when bricks are laid in layers extending from a wall. Sometimes, contractors construct this for decorative or structural purposes and may notch the joists to do so. However, it isn’t up to code today, and if you see it, the joists might need replacing.
The depth of any notches shouldn’t exceed 1/6 of the joist’s depth, and their length shouldn’t be greater than 1/3 of the joist’s length. Also, notches at the end of joists shouldn’t span more than 1/4 of the depth. If you find these issues, it’s best to replace them.
Methods To Fix Sagging Floors
To improve the stability of your sagging floor, there are several methods you can use without the need to call a structural engineer. They include:
1. Maximum Joist Spans
Undersized joists can cause a sagging floor, so it’s important to know the building code guidelines for joist size. Generally, if your joists are spaced 16 inches apart, they should meet certain criteria based on the material and span. Check with your local building codes to ensure your joists are appropriate.
2. Install Blocking
By installing blocking between pairs of joists, you can both fix sagging floors and strengthen the entire surface.
- Utilizing 2-by stock the same width as the joists, cut pieces, so they fit snugly perpendicular to the joists.
- To access the underside of the floor, you may need to enter either a basement or crawl space.
- Measure the distance between joists and number them when necessary if the measurements vary.
- Tap each block into place between the joists with a hammer, offsetting or staggering them by 1 1/2 inches to make nailing or screwing into the ends easy.
- Finally, to secure the blocking to the joists and support the floor above, use 3-inch screws or 16d nails.
3. Adding Metal Bridging
Despite not providing as much strength as blocking, metal bridging is a great way to reinforce joists and lessen squeaks.
- Installing the pieces is easier than blocking, with most being 14 1/2 inches in length.
- Place each piece tightly between the joists and secure it by driving a 1 1/2-inch nail or screw through each hole.
- Opt for wooden blocking if the spacing between your joists is less than 14 1/2 inches.
The process is easy to install and remove, plus the materials are inexpensive. However, results may vary depending on your flooring type and the degree of the problem.
4. Firm The Floor From The Top
Add additional support by laying down more than one layer of subflooring. The thickness must be at least 0.5 inches or higher. The type of material you should use depends on the finish flooring:
- Plywood is usually preferred for extra strength
- Cement backer board is great for ceramic and stone tile flooring
- 1/4-inch underlayment is great for vinyl tiles or sheet flooring
To create a solid base, use plenty of fasteners. Drive long screws into joists every 6 inches and shorter screws that penetrate the subfloor in a grid pattern every 8 inches between the joists. For extra firmness, you can also fix plywood with flooring adhesive.

5. Add Sister Joists
For sagging or bouncy floors that weak floor joists could cause, you can try to fix them by attaching a “sister joist.” A sister joist is just an additional joist to pair up with the original one to take on the load. This might be a solution if only one or two joists are involved.
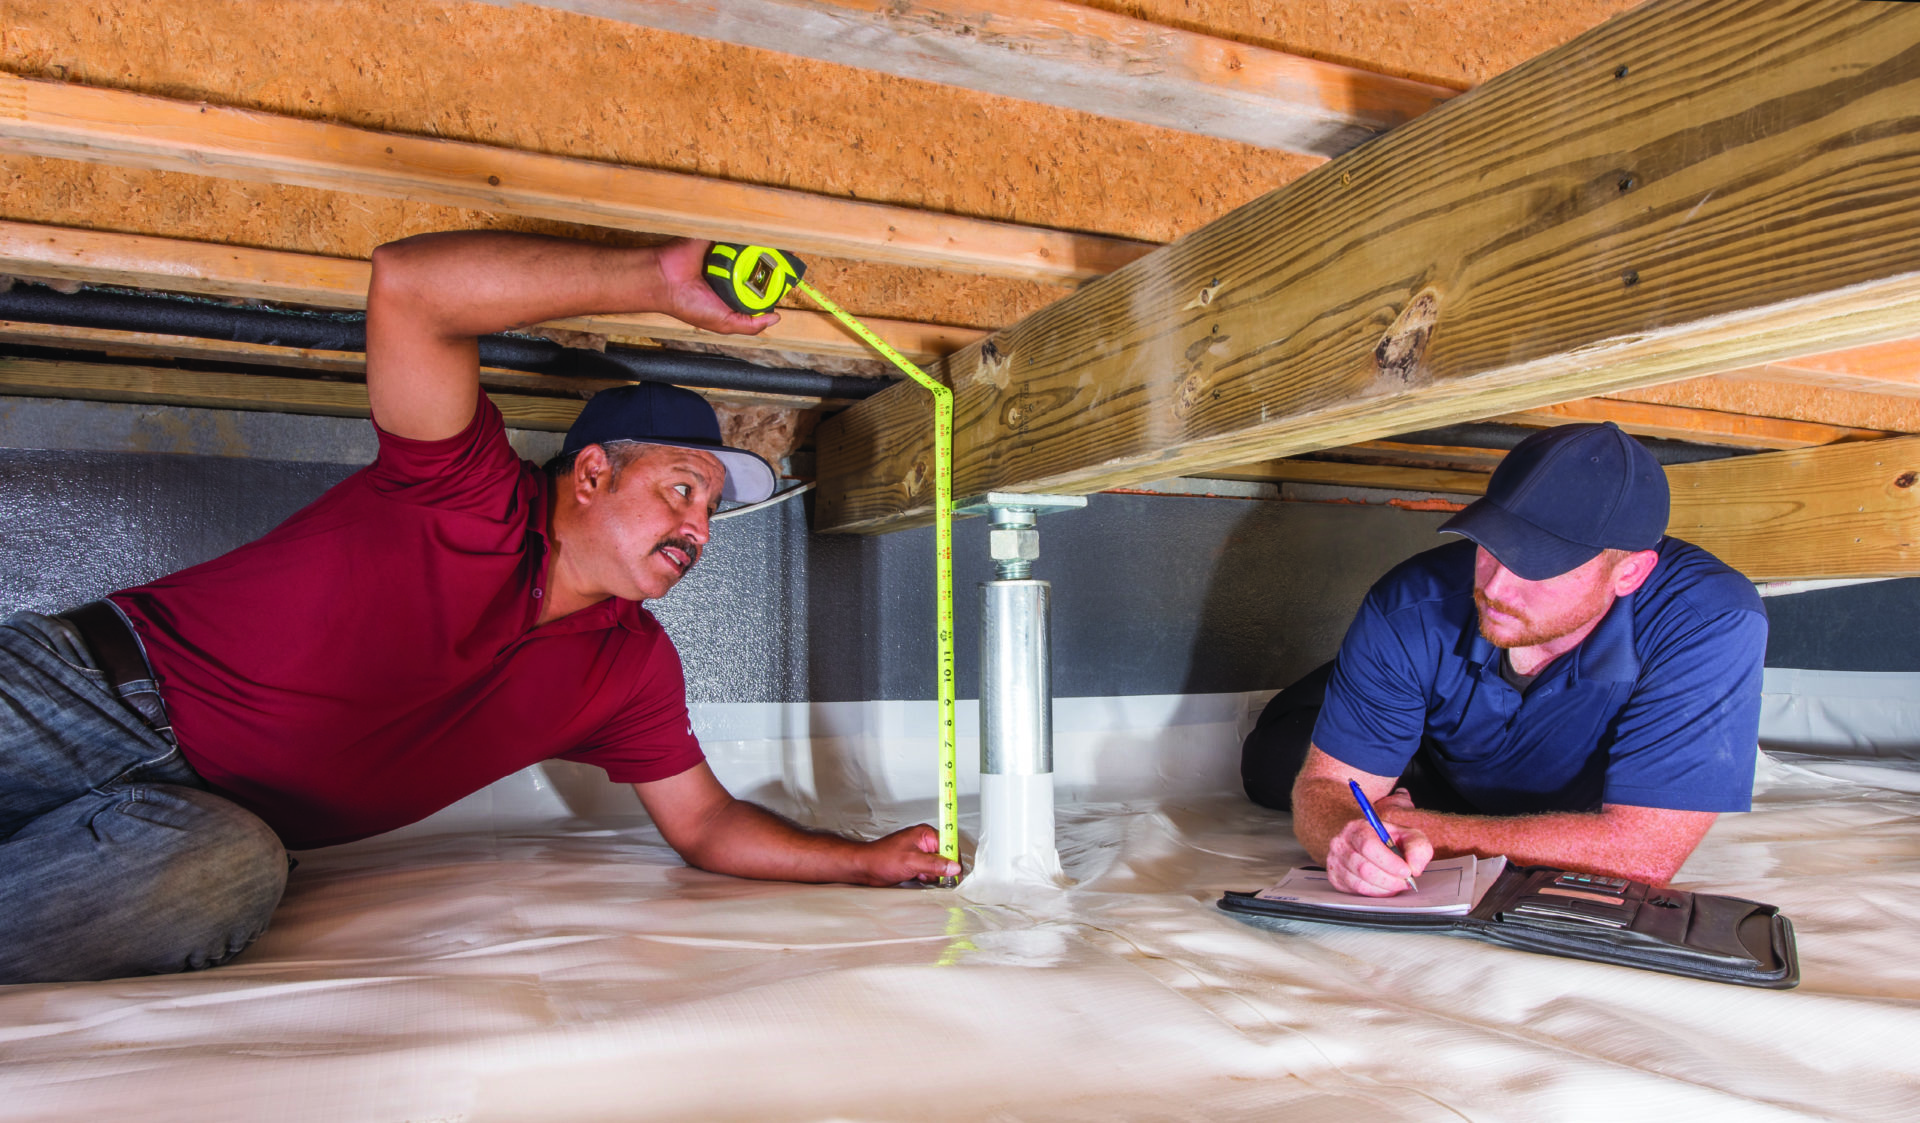
- To do this, you need access to the underside of the floor. This could be from a basement or crawl space.
- Measure and cut your sister joist out of 2-by lumber, ideally at least 6 feet long. Make sure it’s narrow enough to fit into place.
- Press against the bottom of the floor, and wedge vertical 2-by-4 supports under it to hold it temporarily in place.
- Then drive pairs of 3-inch wood screws every 8 inches to secure the joist.
This can be an effective way to strengthen the affected area for minor deflection. However, you may have trouble if the underfloor space is crowded with obstructions such as pipes, cables, vents, or ducts.
6. Install Shims
Wooden shims can be an effective solution for sagging floors. Buy a few shims to fill the gap between the subfloor and the joist, then gently tap them in with a hammer, spacing each shim 2 to 3 inches apart. Tap in all of them before returning and ensuring they’re snugly fitted.
The cheap materials and easy installation make this an ideal solution for targeted areas of the bowing floor. Just be careful not to apply too much pressure too quickly so you don’t damage the flooring surface above. Increase pressure gradually over a few days instead.
Steps For New Joist Installation
To fix sagging floor joists, you’ll need to install new joists. Here’s what you’ll need and the steps to follow:
1. Gather The Materials
The first step in fixing sloping floors is to have all the necessary tools and materials. These items include a caulk gun, circular saw, drill and bits, earplugs, hammer, safety glasses, tape measure, 16d nails, a 6-ton hydraulic jack, and construction adhesive. Also, put on your safety gear before beginning the project. Apart from the new joists, these tools and materials will ensure you complete the job correctly.
2. Prepping The Area
After gathering the necessary materials, it is time to prepare the work area. You will likely encounter several obstacles, including electrical conduits, wires, heating pipes, refrigerator water lines, and thermostat cables. Also, search for old nails and pipe brackets accumulated over time.
To ensure safety during this step, turn off all electricity and disconnect any wiring. Next, remove all wire staples and unscrew the conduit and heating pipe supports. Additionally, inspect the subfloor for penetrating nails that must be removed to accommodate the new joists. If needed, cut them flush with end nippers.
3. Cutting The Joists
Once the area is prepped and ready, you can start cutting the new joists according to your measurements. Depending on the board size, you can cut them with a circular saw or router. It is essential to ensure all cuts are straight for a secure fit. Following the building codes by IRC is important as well. Double-checking your measurements before cutting ensure that all joists are identical in size and shape.
4. Jack The Joists
After prepping the area, it’s time to raise the new joist. Using a hydraulic jack is best for this step. If the existing joist has sagged, lift it carefully and flush the new beam against it. Be sure to increase pressure on the jack slowly – too quickly can cause cracking.
It’s a best practice only to move the beam up a 1/8 inch a day and wait for it to settle. If the joist is catching, you can use a hammer to move it into position carefully.
5. Make A Jack Post
A fast and easy way to fix a sagging floor is by using a jacking post. This post will hold up the floor while you install a new joist. To make one, screw two 2 x 4s together, and voila. You will have your DIY jacking post in no time.
When a jacking post won’t hold up due to heavy weight, you’ll need to build a stronger one. That’s where the T-jack comes in. To make your own, construct a T shape with some 2 x 4s by nailing them perpendicular to each other. This more powerful jack can handle bending forces better than a standard jacking post.
6. Install The Joist
Using a clamp, attach the new and old joists. Secure them by screwing them together in all possible locations. If some areas are cracked or broken, it may not be feasible to do this.
Once the joist is installed, slowly reduce the load on the jack – don’t remove it all at once. This will add a small amount of stress to the joist and help it hold up the floor better. Remove the jack gradually until you reach your desired level.
7. Add Bracing
Finally, you can add bracing between the joists to support your floor joist. This will stop future sagging and reduce any chances of sloping floors. Use 16d nails or screws to secure the new bracing in place.
These steps will ensure that your installation is complete and functional. It’s important to remember always to wear safety gear when completing projects like this one. Additionally, read through all instructions before fixing the sagging floor joist.

How Much Does Sagging Floor Repair Cost?
Several factors contribute to the cost of sagging floor repair. The size and scope of the project, as well as the severity of any damage, affect the overall cost. On average, most homeowners can expect to pay anywhere between $300 and $5,000 for an entire job.
1. Repair Type
Fixing a small area of uneven floors costs significantly less than replacing an entire floor. If the damage is only in one or two spots, you may be able to get away with simply patching and reinforcing the weakened wood. This generally costs between $300 and $1,500, depending on how much material needs to be replaced and how extensive the repairs are.
2. Floor Type
The type of flooring also impacts the cost of repair. Hardwood floors are more expensive than laminate or engineered wood, for instance. This is due to the intricate installation and costly materials involved with hardwood flooring. The average cost to repair a sagging hardwood floor is around $1,000 to $2,500.
3. Floor Location
The area of your home where the floor sags impacts costs as well. Working in a basement or attic may require additional equipment that adds to the overall cost of repair. It’s also worth noting that removal and installation fees could be higher if access to the area is difficult.
4. Floor Size
The size of the floor also affects repair costs. If your floor is sagging, you may have to replace the entire area, which is a much more extensive and costly project than patching a single spot or two using a support beam. Also, if you’re installing a new floor, the larger the area, the more material and labor are needed.
Conclusion
Following the steps above can help fix uneven floors and regain the structural integrity of your home. Before you begin any project, remember to contact a professional if you don’t feel comfortable taking on a big job like this. And if all else fails, don’t be afraid to call in an expert who can handle the job safely and efficiently. With these tips in hand, you can now tackle the challenge of how to fix a sagging floor and restore your home’s structural integrity.


