Crawl spaces are often out of sight, out of mind, until a problem arises. One common issue homeowners face is a damaged or torn crawl space vent screen. Not only does this allow pests and debris to enter the crawl space, but it can also impact the air quality in your home.
The good news is that the process to replace or repair crawl space vent screen is a straightforward task that can be done with just a few easy steps. The guide will walk you through the process so you can confidently tackle this DIY project. From gathering the right supplies to installation and repair, here’s all you need to know!
Role Of Crawl Space Vent Screen
The crawl space vent screen is an important component for maintaining a healthy and safe home. This mesh-like metal or plastic material helps to keep out unwanted pests, dust, dirt, and moisture from entering your home through the crawl space vents. It helps to keep the air circulating in your home.
Also, by blocking pests, the vent screen can help prevent structural damage caused by them. If a pest like a mouse or termite finds its way into your home through an open vent, it can start to do some real damage to important parts of your house such as wood support beams and floor joists. By replacing or repairing a crawl space vent screen, you can protect your home from potentially harmful elements and create a more comfortable living environment.
How To Repair Crawl Space Vent Screen
The steps you need to take in order to repair a crawl space vent screen are as follows:
1. Inspect For Damage
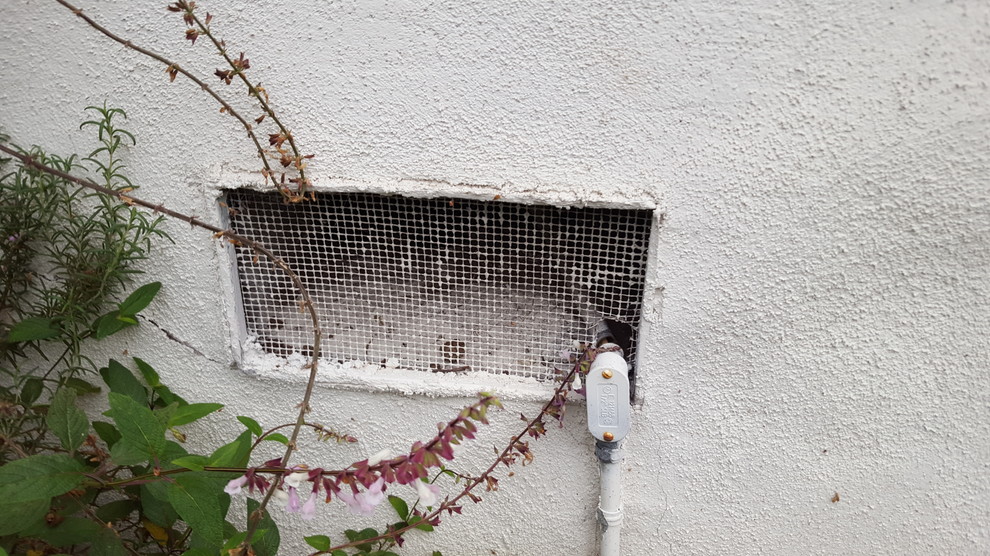
Start by inspecting the condition of the vent screen for any signs of damage. Look for tears, holes and other signs that may indicate a problem. If there is visible damage to the vent screen, it’s time to repair or replace it. Look for any signs of debris, animal nesting materials or other objects that may have gotten caught and are preventing the vent from properly functioning.
2. Remove And Clean The Screen
Once you’ve identified the areas of damage, carefully remove the vent screen and set it aside for cleaning. Use a brush to gently scrub away dirt, dust and debris. If there is any mold or mildew present, use a cleaning solution to remove it. Rinse the screen with water and let it dry completely before continuing.
3. Make The Necessary Repairs
Once the screen is clean and dry, inspect for any areas that may need to be repaired or replaced. This can include patching holes, remaking or replacing torn sections or reattaching rips. If necessary, use a utility knife to cut away any damaged parts and replace them with new pieces of material.
For patches, use a strong adhesive to secure the patch in place. Make sure that the materials used for new sections match the existing vent screen. Try to avoid using nails, screws or staples that could damage the screen covers further.
4. Reinstall The Vent Screen
Once you’ve made all necessary repairs, it’s time to reinstall the vent screen into place. Secure the edges with a strong adhesive and make sure that all pieces fit snugly so air can flow freely. Check the screen for proper installation and functioning before you’re finished.
5. Maintenance And Inspection
Finally, keep an eye on the vent screen over time and inspect it periodically for signs of damage or wear. Make sure to attend to any needed repairs immediately so you can avoid costly repairs down the line. You can also consult a professional if you need help with the installation or repair process.

Steps To Replace Foundation Vent Screens
To replace your foundation vents screen, follow these simple steps:
1. Choose Your Replacement Material
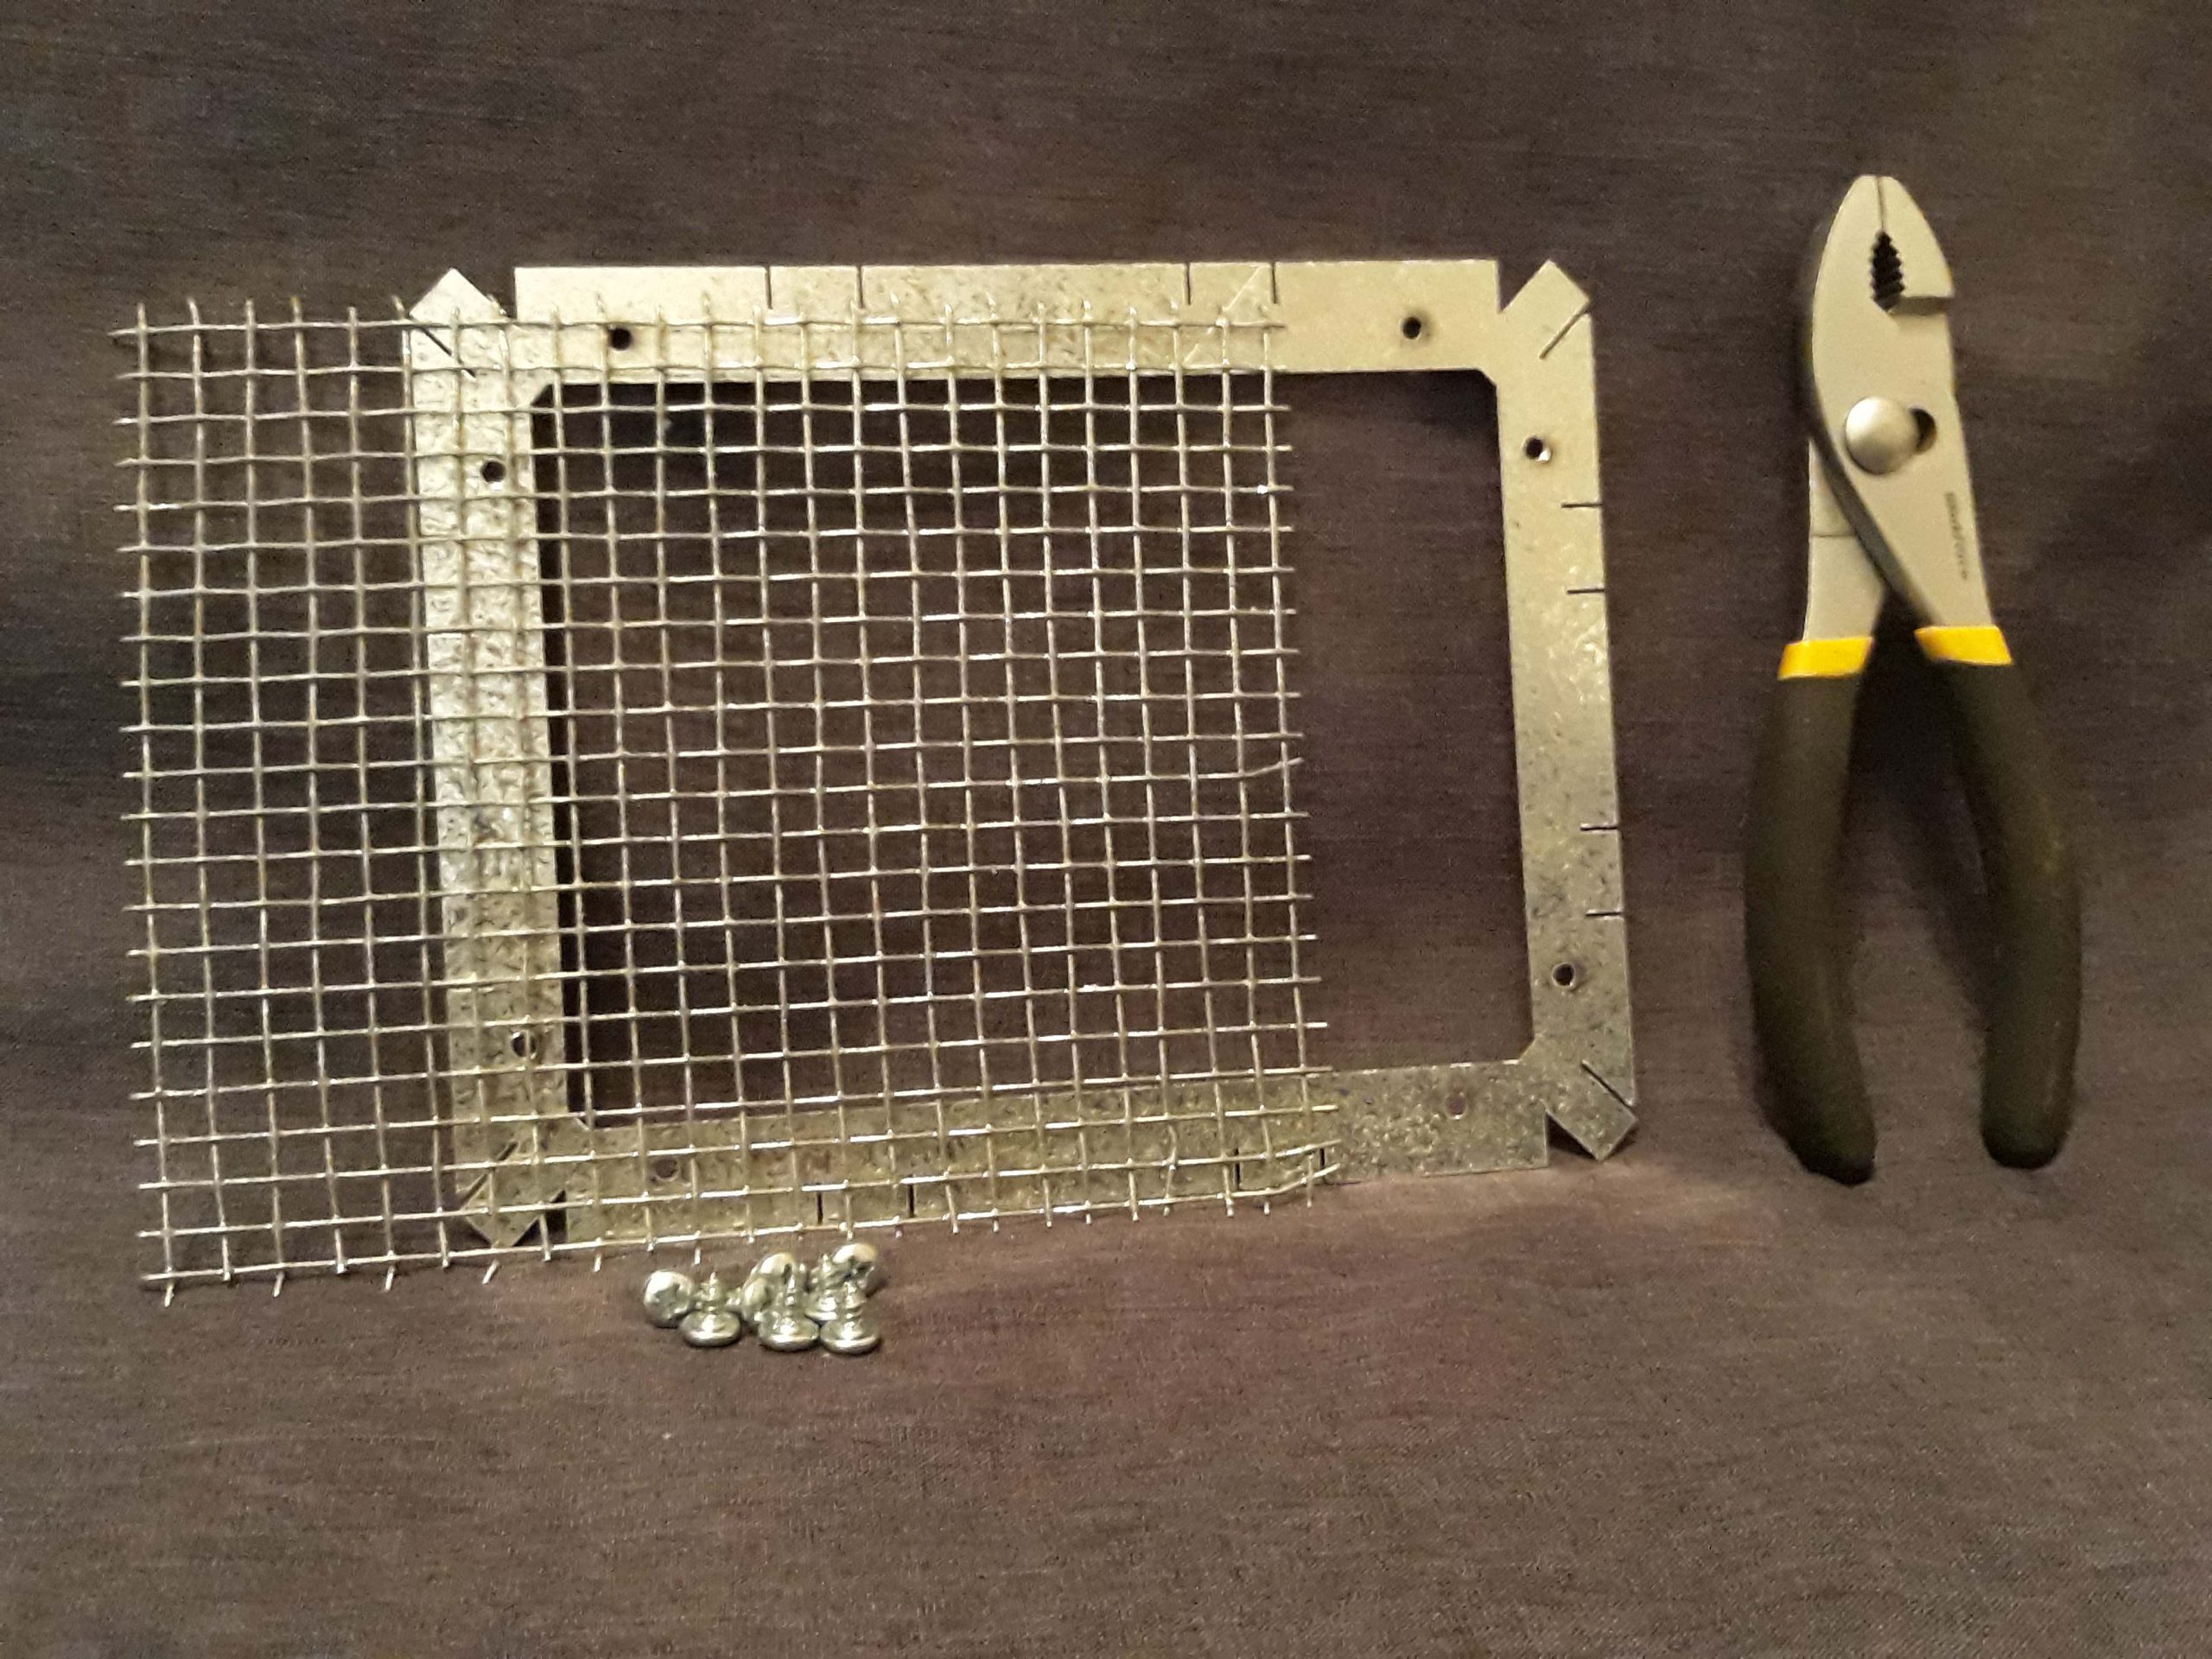
Start by selecting the material you want for your new vent screens. You can choose from mesh, hardware cloth, plastic sheeting, or any other material designed to keep out pests and debris. The existing framing can usually accommodate whatever material you choose. Also, consider your neighborhood’s aesthetic and choose a replacement vent material that will fit in.
2. Measure The Size
Next, please measure the size of your foundation vent screens and account for any framing around them. The replacement material must be large enough to provide adequate coverage. Also, if necessary, trim the material to the correct size. You don’t want it to be too tight, which could lead to cracking or warping.
3. Remove The Old Frame And Screen
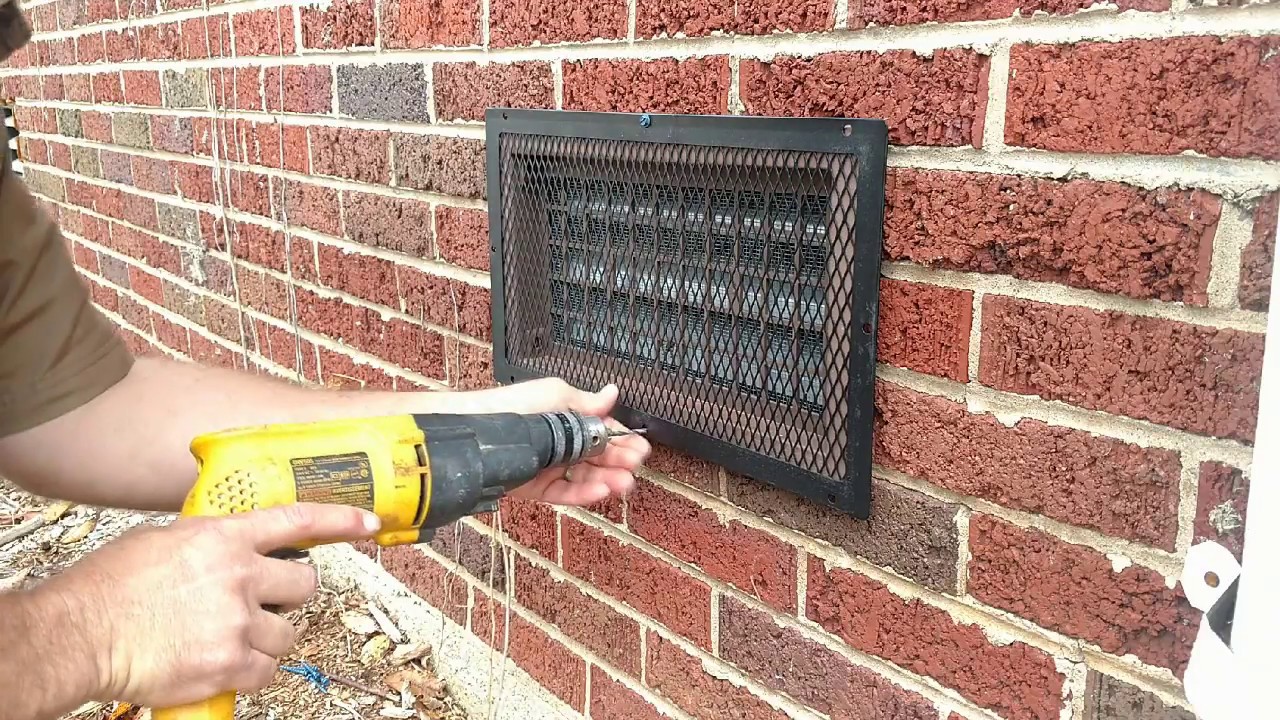
Now that you have the measurements, remove any nails or other fasteners holding the old screen in place and carefully lift it away from the foundation vent opening. Make sure you dispose of the old screens properly. Also, check for any additional damage to the structure around the old screen. If necessary, make repairs before moving on.
4. Clean The Area
Before you install the new replacement vents, clean the area around them and make sure no debris is present. This will ensure that your new screens fit properly and securely. You may need a vacuum cleaner or other cleaning tools like a brush or cloth to complete this step. Also, you can use soap and water to remove dirt or grime.
5. Attach The New Screen
Attach the new vent screens to the framing around them. The steps will include:
- Placing the material in the opening
- Securely fasten it with nails or other appropriate fasteners. You can get them from hardware store.
- Use caulking to seal any gaps
- Test the new screens for proper fit and security
- Ensure the new screens are properly ventilated and allow air circulation.
6. Enjoy Your New Screens
Once complete, you can enjoy your newly installed foundation vent screens. Your home is better protected against pests and debris, making it a safer and more comfortable environment. These improvements will also help reduce your energy bills over time.
Replacing your foundation vent screens is an easy task that can be done in a few hours or less. Now that you know the steps, start this important home improvement today!

FAQs
1. Can Crawl Space Vents Be Replaced?
Yes, crawl space vents can be replaced. If the frame of the vent is still intact, you can just remove the old screen and insert a new one. However, if the frame has been damaged or decayed, then a full replacement may be necessary. You can purchase replacement vents from your local hardware store. For larger projects, it may be worth consulting a professional.
2. How Long Does It Take To Replace Crawl Space Vents?
It depends on the extent of the damage and the complexity of the installation. In most cases, replacing or repairing crawl space vents can take as little as an hour or two to complete the job. More complex installations may take longer. Also, keep in mind that if the frame is damaged, it may take additional time to repair or replace. Try to budget for a couple of hours when planning your project.
3. Is It Necessary To Replace All Crawl Space Vents At Once?
No, it is not necessary to replace all crawl space vents at once. However, in some cases, it may be beneficial to do so if you want an even level of ventilation throughout your home. Replacing the entire system can also improve air flow and reduce moisture levels. Also, keep in mind that when replacing vents individually, you may need to re-evaluate the existing frames and supports as part of the installation process.
4. What Signs Indicate It Is Time To Replace Crawl Space Vents?
If you notice signs of deterioration or damage, such as rusting frames, cracked screens, or missing pieces, it is time to replace or repair your crawl space vents. You should also check for gaps around the vents and make sure they are properly secured in place. Also, check for any blockages or debris that could be impacting your ventilation system.
5. What Are The Most Common Types Of Crawl Space Vents?
The most common type of crawl space vent is the aluminum louvered or slatted vents. These are placed along the sill plates and foundation walls to provide ventilation and airflow throughout your home. They can be easily opened and closed to regulate the amount of air that is allowed in or out. Other types of crawl space vents include mesh, foundation vents, and automatic venting systems. Each type offers its own unique benefits and should be chosen based on your specific ventilation needs.
Conclusion
The easy steps will help you replace or repair your crawlspace vent screen in no time. Please take the necessary measurements, purchase the right vent screen size, and install or replace it using simple tools. With a little effort and ingenuity, replacing or repairing your crawlspace vent screen won’t be a challenge.
Take safety precautions when working in a wet and dirt-filled environment such as a crawlspace. It is also important to check the vent screen periodically to prevent potential damage or issues. And with that, you’ll keep your crawl space dry and healthy!


