Do you dread the thought of venturing into your crawl space? It’s no wonder – it’s often a dark, damp, and dirty place that’s easily forgotten. But imagine if you could transform that neglected space into a clean and dry area perfect for storage. Well, with the proper preparation and some elbow grease, you can!
The key is to install a vapor barrier to keep out dirt and grime from the outside. But don’t be fooled into thinking this is the only step required to achieve a transformed crawl space. It takes a lot of hard work and preparation to permanently change your crawl space into a usable and functional area.
So if you’re tired of dealing with a dingy crawl space and want to make the most of that space under your home, keep reading!
What Is Vapor Barrier?
Vapor barriers work like superheroes for your crawl space, working hard to slow down ground moisture that can cause significant problems for your house.
It’s made up of plastic sheeting rolls placed on the ground in your crawl space. The plastic traps water in the ground, preventing it from evaporating or condensing and seeping into your home. The US “The Department of Energy” even has a fancy name: a “vapor diffusion retarder.”
The plastic sheeting has different thicknesses and strengths, so you can choose the one that fits your budget and needs. A 6-mil sheet is the minimum recommended thickness, and it’s considered a Class 1 vapor retarder. And in case you’re wondering, a mil is a fancy way of measuring thickness – it’s equal to 0.001 inches. You can also consider a class iii vapor retarder.
Now, let’s talk about the cost. The price of vapor barrier sheeting can range from 15 cents to $1.50 per square foot, depending on the thickness. And if you want an expert to install it for you, it can cost anywhere from $2,000 to $4,000, depending on the size of your space and the sheet you choose.
Why Installing A Vapor Barrier is Important
You must be aware of the fact that moisture is the biggest enemy of your home. Installing a vapor barrier in your crawl space can protect your home’s structural integrity from water or water vapor seeping through and causing wood rot, mold, and other serious problems.
And that’s not all. A damp crawl space also creates a perfect environment for breeding insects and rodents. It’s crucial to seal your crawl space and incorporate it into your home’s envelope to ensure that your family is breathing clean and conditioned air while keeping the wooden supports of your home safe.
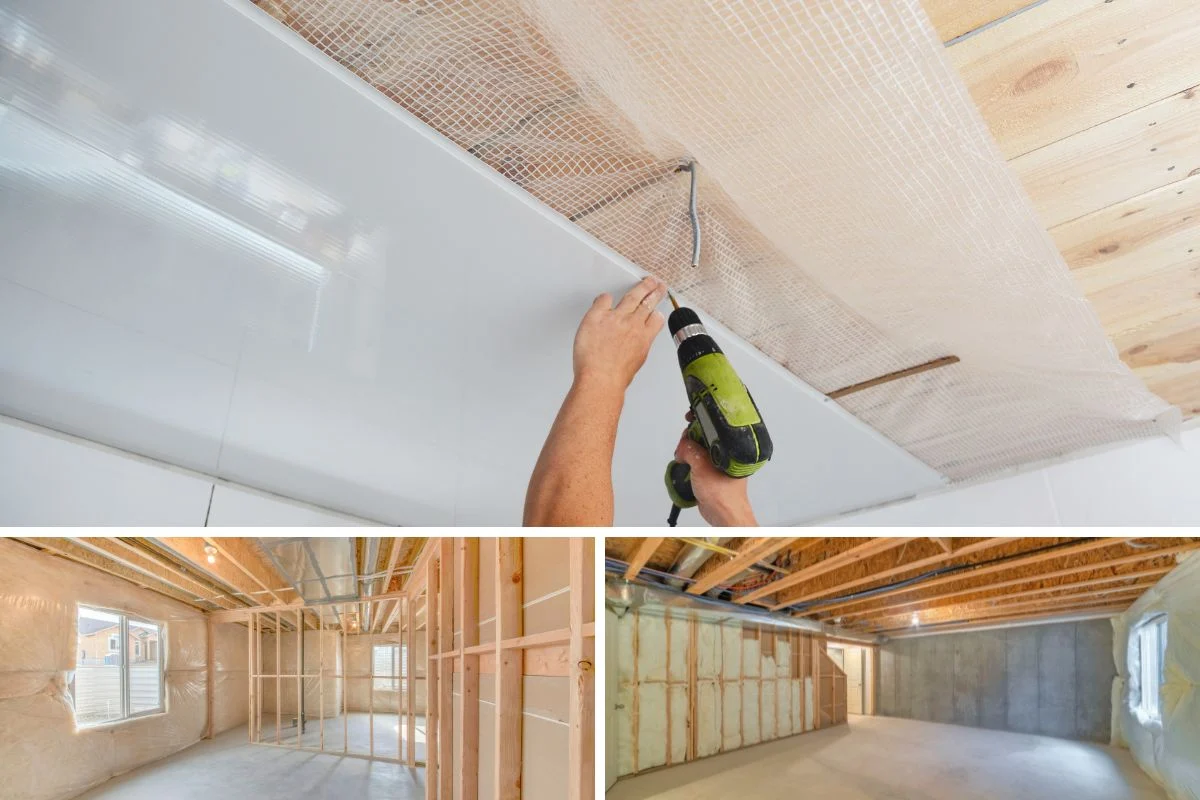
However, simply installing a vapor barrier isn’t enough. You need a vapor barrier and encapsulation like spray foam insulation, which includes addressing any water problems, insulating crawl space walls, and possibly dehumidifying the air. Only then can you enjoy a permanent solution and a home free from moisture-related issues.

How To Install A Vapor Barrier
1. Find Out The Entrance
The first step is finding the entrance to your crawl space, but don’t worry if it’s not immediately obvious. You should do some sleuthing to track it down, whether outside the perimeter wall assembly or hidden away in a closet or utility area.
And if you’ve got wall-to-wall carpeting, keep an eye out for a telltale square seam that might lead you to a hatch door. Once you’ve located the entrance, you’re one step closer to a moisture-free crawl space!
2. Dry Out Damp Crawl
A dry crawl space is healthier for you and your family and can prevent damage to your home’s foundation and structure. Luckily, there are a few methods to dry out your crawl space. You can start by using a dehumidifier to lower the humidity levels.
Another way is to set up fans to increase air circulation and remove moisture. Remember to remove any wet materials contributing to the dampness. If you have standing water, using a pump can help discharge it.
Remember, drying out your crawl space may take several days of effort, but it’s worth it! Once dry, you can confidently lay vapor barriers over the ground without worrying about moisture buildup. So, take charge and give your crawl space the attention it deserves!
3. Get Your Crawl Space Clean
Follow these easy steps to transform your crawl space into a tidy and organized space.
- Remove all the debris and discarded building materials from your crawl space.
- Construction workers often use this space as a dumping ground, creating a hazardous environment. Be sure to dispose of sharp objects that might puncture the plastic lining.
- Next, use a garden rake to level the ground as much as possible. This will help create a flat, stable surface that is easier to work on. Plus, it will make moving around in the crawl space easier.
4. Transform Your Crawl Space
To transform your crawl space into a cleaner, more organized area, you must know how to install plastic sheets properly.
- First, roll out 6-mil or thicker polyethylene vapor barrier plastic over the entire crawl space, starting at one end.
- Be sure to cut the interior vapor barrier to the correct size, leaving at least 6 inches of plastic along the walls. This will ensure that you have enough material to work with.
- Once you’ve laid out the poly vapor barrier, it’s time to secure it.
- Make sure to overlap the seams by at least 12 inches to create solid interior vapor barriers. Then, use poly PVC tape to seal the seams together tightly.
5. Seal Your Crawl Space Tight
You must know how to attach sheeting to walls and piers to ensure your crawl space is adequately sealed and protected.
Start by identifying the outer support walls or columns and the inner support piers and posts in your crawl space. Cut the plastic sheeting to fit around these structures, then use double-sided butyl tape to seal the plastic against them tightly. This will help create a solid barrier that removes moisture and harmful contaminants.
If you notice any gaps or areas that need extra attention, don’t hesitate to cut additional small pieces of plastic to seal them up completely. The goal is to create a tight seal that keeps your crawl space safe and healthy.
Finally, extend the plastic sheeting at least 6 inches up the walls around the perimeter of your crawl space. Secure it in place with double-sided butyl tape to create a complete barrier against the ground.

The Importance Of Cross Ventilation
As you know, moisture in your crawl space can cause severe damage to your home’s foundation and even lead to health problems. While plastic vapor barriers are a great start in preventing water vapor from seeping up from the soil, they’re not enough to keep your crawl space completely dry. That’s where cross ventilation comes in.
Unfortunately, many crawl spaces don’t have adequate ventilation. But improving cross ventilation through the space can be a game-changer. Any residual moisture seeping through the vapor barrier can be effectively removed by allowing air to circulate. This prevents the buildup of moisture that can lead to mold, mildew, and rot.
Bringing the vents up to code is a great start if your crawl space suffers from moisture issues. But an electric vent fan system can be a lifesaver for more severe cases. By actively removing moist air from the space, you can keep your crawl space dry and protect your home from costly damage.
How Vapor Barriers Keep Your Crawl Space Dry
A vapor barrier is a plastic sheet installed in your crawl space. When properly installed, it protects against moisture entering your home, causing many problems.
But here’s the kicker: You must seal your crawl space completely for a vapor barrier to work effectively. That means no air leakage from outside should be able to penetrate through the walls, vents, or floor and it act as air barrier. This is where encapsulation comes in handy, and it’s best left to a trusted foundation company.
By encapsulating your crawl space, you’re safeguarding your home against moisture and keeping unwanted critters and pests at bay.
Vapor Retarder Placement: Hot Vs. Cold Climate
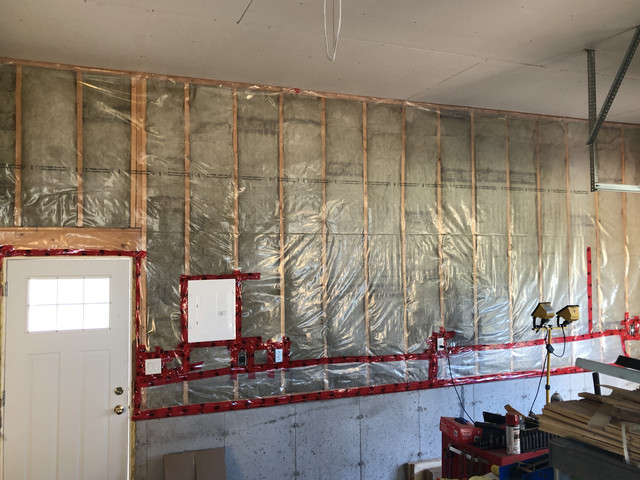
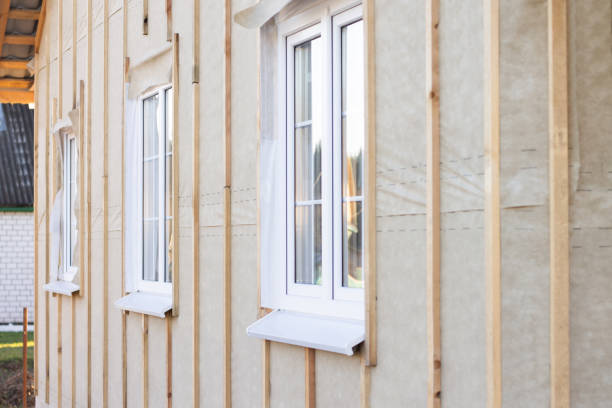
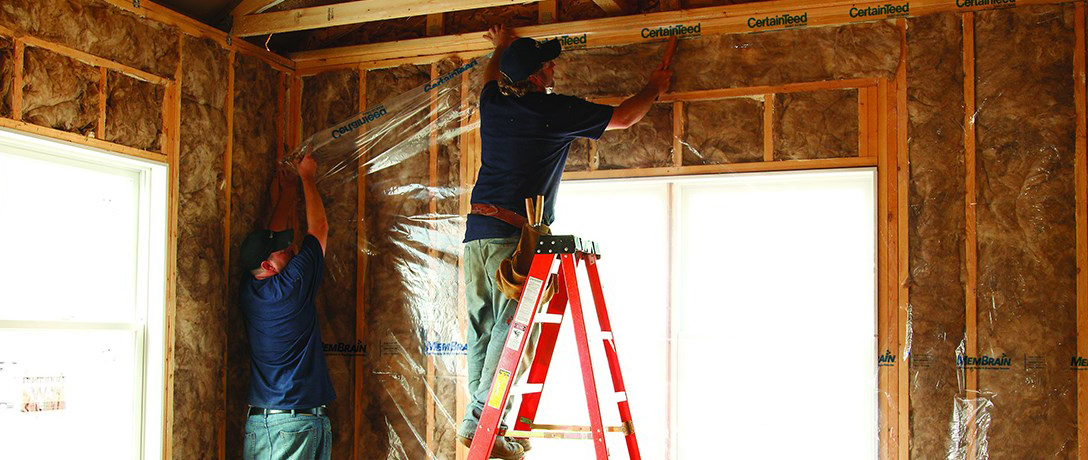
You must be wondering where to install a vapor retarder on your wall. Well, the answer depends on where you live! If you’re in a hot climate, it’s best to install the vapor retarder on the exterior of the wall. But if you’re in a cold region, place it on the interior.
“But why?” you might ask. The reason is simple: the goal is to block moisture from reaching the wall’s more humid and warmer side. Doing so can prevent problems like mold and mildew from forming inside your home.
It’s important to remember that climatic conditions vary from place to place. Understanding how vapor barriers work can help you determine the proper placement for your specific location.
Is It Time to Replace Your Vapor Retarders? Here are the Signs to Watch Out For:
If you’ve got a vapor retarder in your wall, you know it’s essential for protecting your home from moisture damage. But did you know that these barriers can break down over time? That’s right – and when they do, it’s crucial to get them replaced. Here are a few signs to watch out for:
1. Water Infiltration
First off, keep an eye out for water infiltration. Vapor retarders are supposed to prevent water vapor from seeping into your walls, so if you notice any signs of moisture (like wet walls, peeling paint, or wood rot), it’s a red flag that your barrier isn’t doing its job.
2. Mold Growth
Another sign that it’s time to replace your vapor barrier on exterior wall is mold growth. When moisture gets trapped inside your walls, it creates the perfect environment for mold and mildew to thrive. Not only is mold unsightly, but it can also cause health problems like allergies and respiratory issues. Air barriers for wall cavity can be helpful in cold climates.

How Long Can You Rely on Your Vapor Retarder?
How long will your vapor retarder keep your home safe from moisture damage? While they won’t last forever, a properly installed vapor retarder can be effective for many years.
On average, vapor retarders can last from five to ten years. However, some can remain effective for up to twenty years. But how can you ensure your vapor retarder lasts as long as possible?
One key factor is proper installation. If installed correctly, your vapor retarder will be less likely to suffer from premature wear and tear. Additionally, climate plays a role in the lifespan of a vapor retarder. In regions with extreme temperatures or humidity, they may degrade faster. Finally, the material’s permeability also affects how long a vapor retarder will last.
Final Thoughts
A vapor barrier is essential to protect your home from moisture damage and keep your crawl space clean and dry. Installing a vapor barrier is a relatively simple process, and it can be done by following the steps outlined in this post.
However, encapsulating your crawl space involves more than just laying a vapor barrier, it’s crucial to address any water problems, insulate walls and possibly dehumidify the air to ensure a permanent solution to moisture-related issues. By taking the time and effort to prepare and encapsulate your crawl space properly, you can create a healthy and safe environment for your family while also protecting your home’s structural integrity.


